Get Inspired
Instructions
Introduction:


Dear DIY Fans,
This little Weekend-Project is about crafting your own Brass Necklace. The golden-like metall-shinyness and the possibility to create your own personal logo into jewellery makes this project an awesome gift for a special person.
It is much less expensive than you would expect, but it requires some patience and the will to work precisely.
I decided to craft my Youtube-Logo into a Necklace, but you could easily produce some earrings or other small subjects in the same way.
I have produced a little video, to show you every single part of the crafting process and to give a little more content for those, who share the passion for athmospheric DIY Videos.
Tools and Materials
MATERIALS
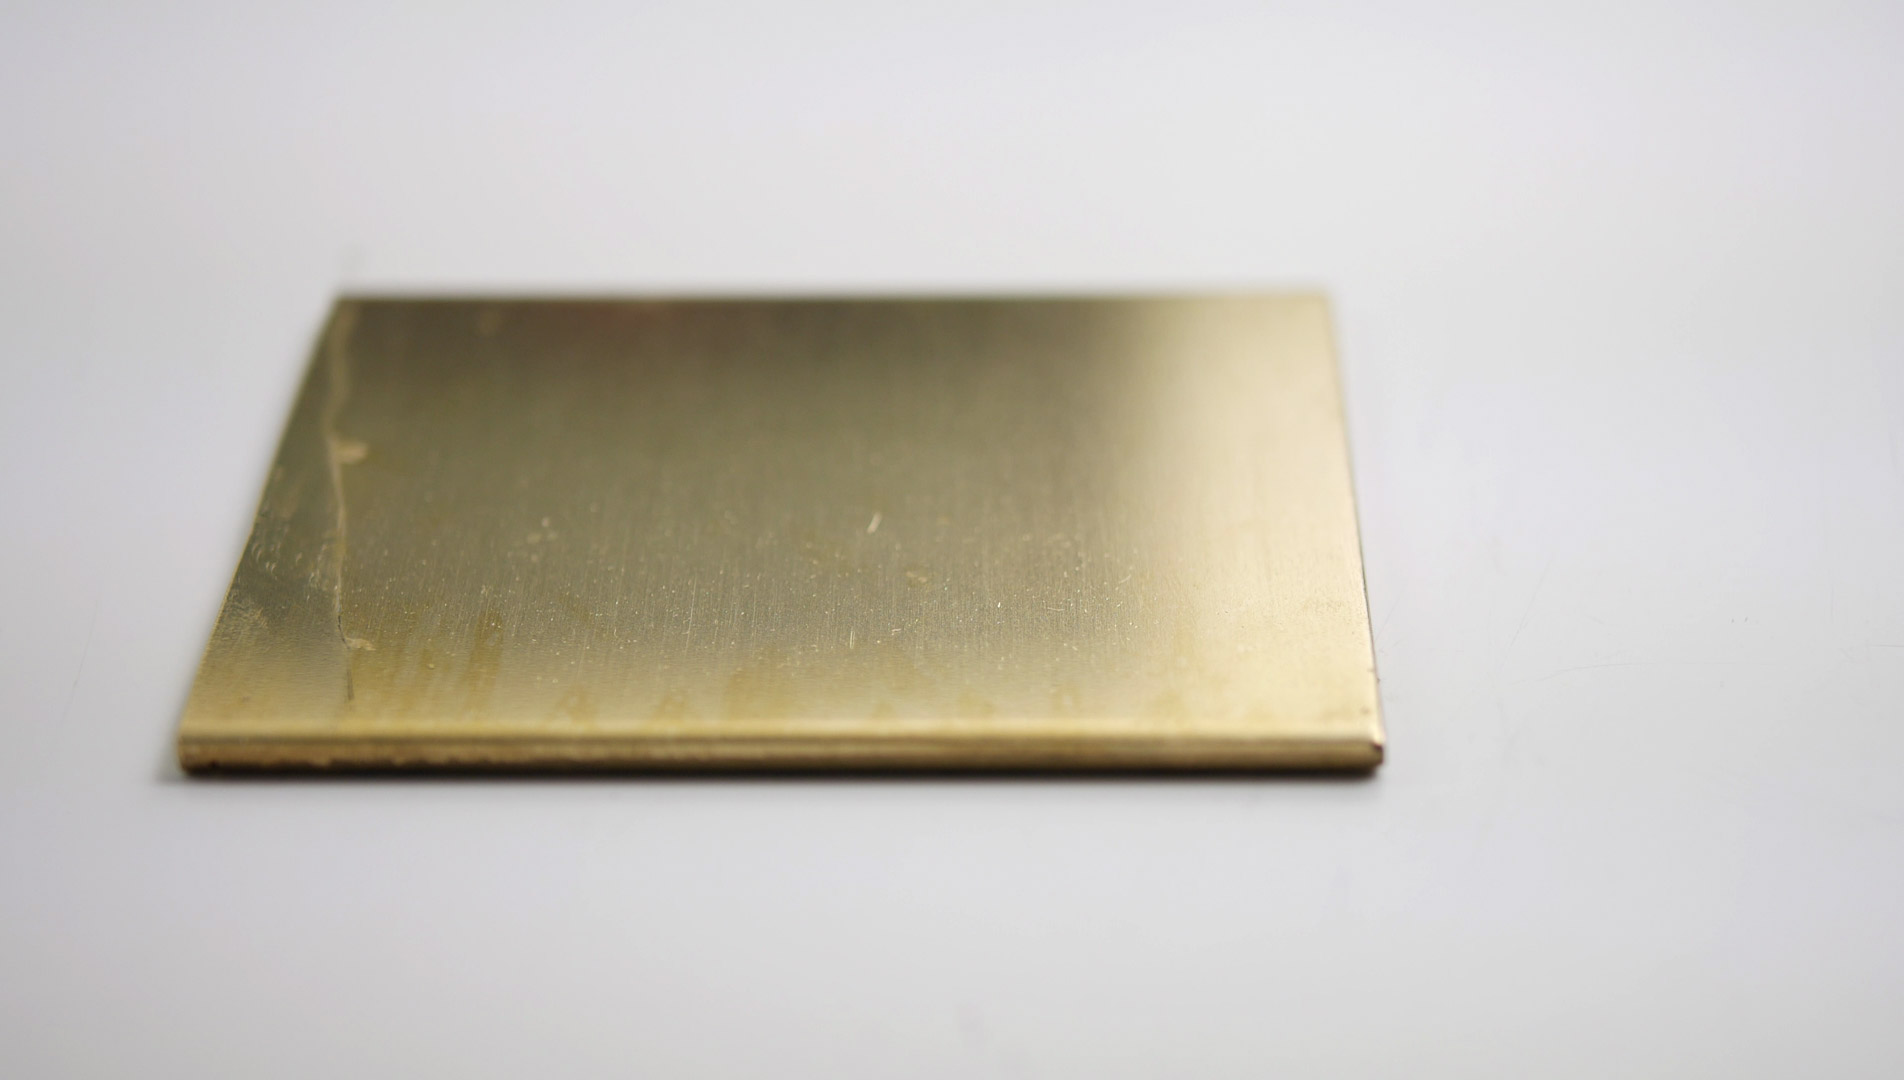
- a small 2-3 mm thick Block of Brass (ebay: 5€ for 6 x 10 cm)
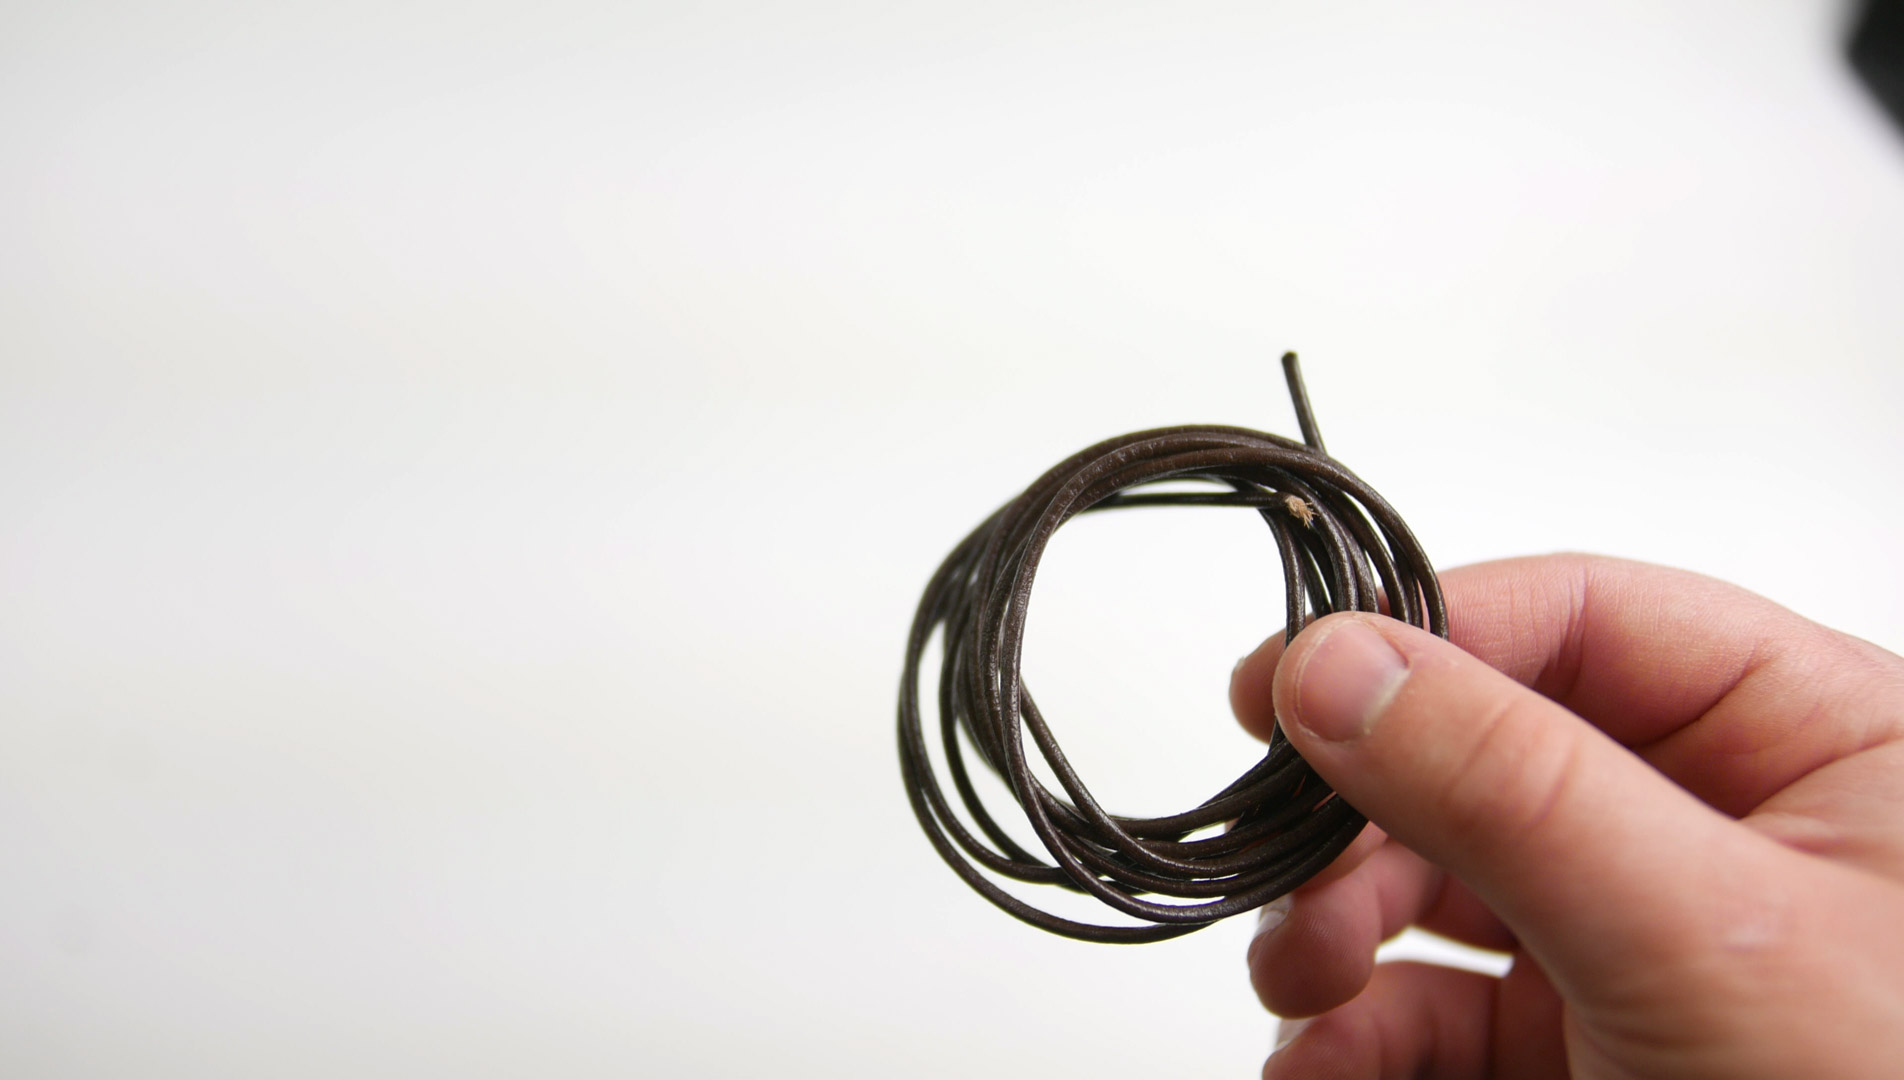
- a simple leather cord, that feels good on your skin
- cordless screw driver with some small metall drill bits
- a small metall saw
- a few small and inexpensive metall files (5€ on amazon)
- polishing paste and a sanding sponge
- optionally: a dremel multifunction tool for polishing (you could also modify your cordless screw driver)
Step 1: Choose Your Logo
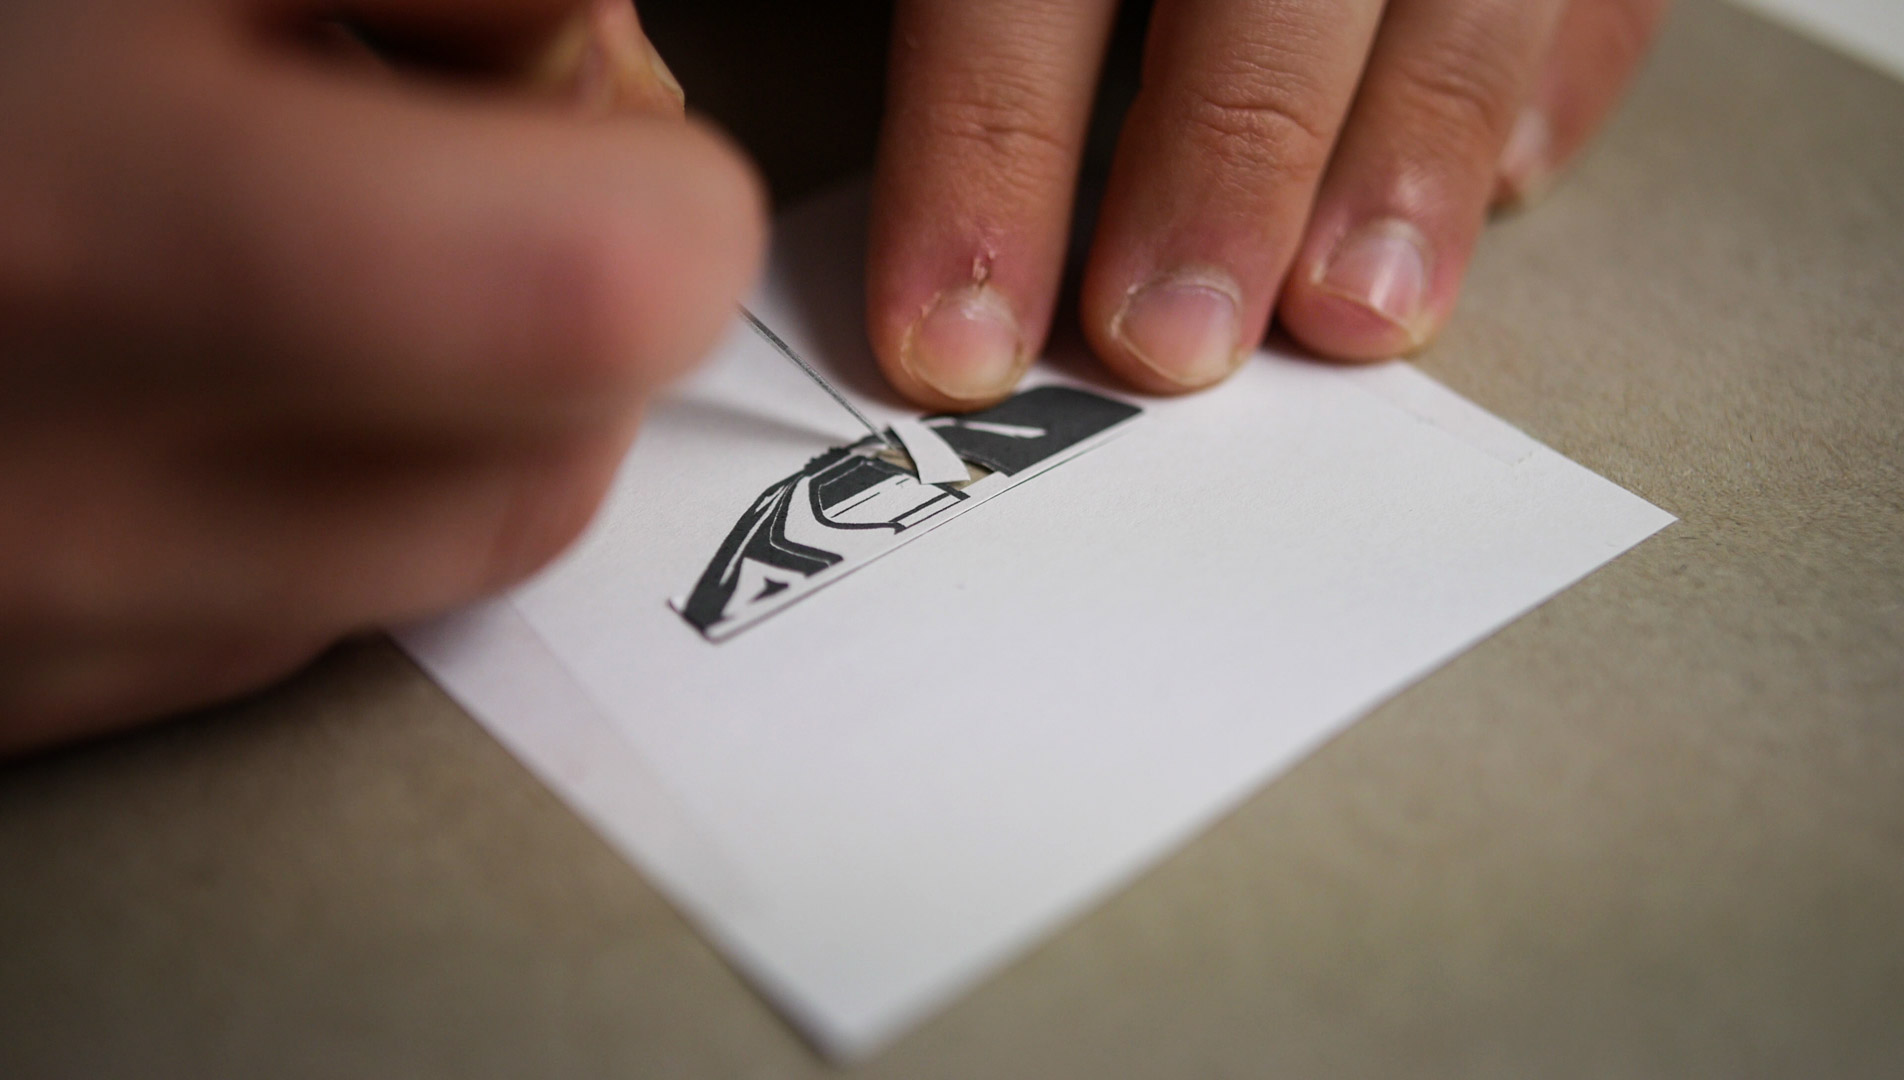

The first thing you have to do is creating a logo. I recommend to use a logo with an eye-catching outline and a few holes, that singnify the objects shape.
Simplicity is key here. To much detail will probably be hard to realize and might take away the clean and simplistic look.
I made my logo on my own in a free software, called „GIMP“.
Print it out and cut out the shape with a scalpal (or a sharp knife) and glue it on the brass block.
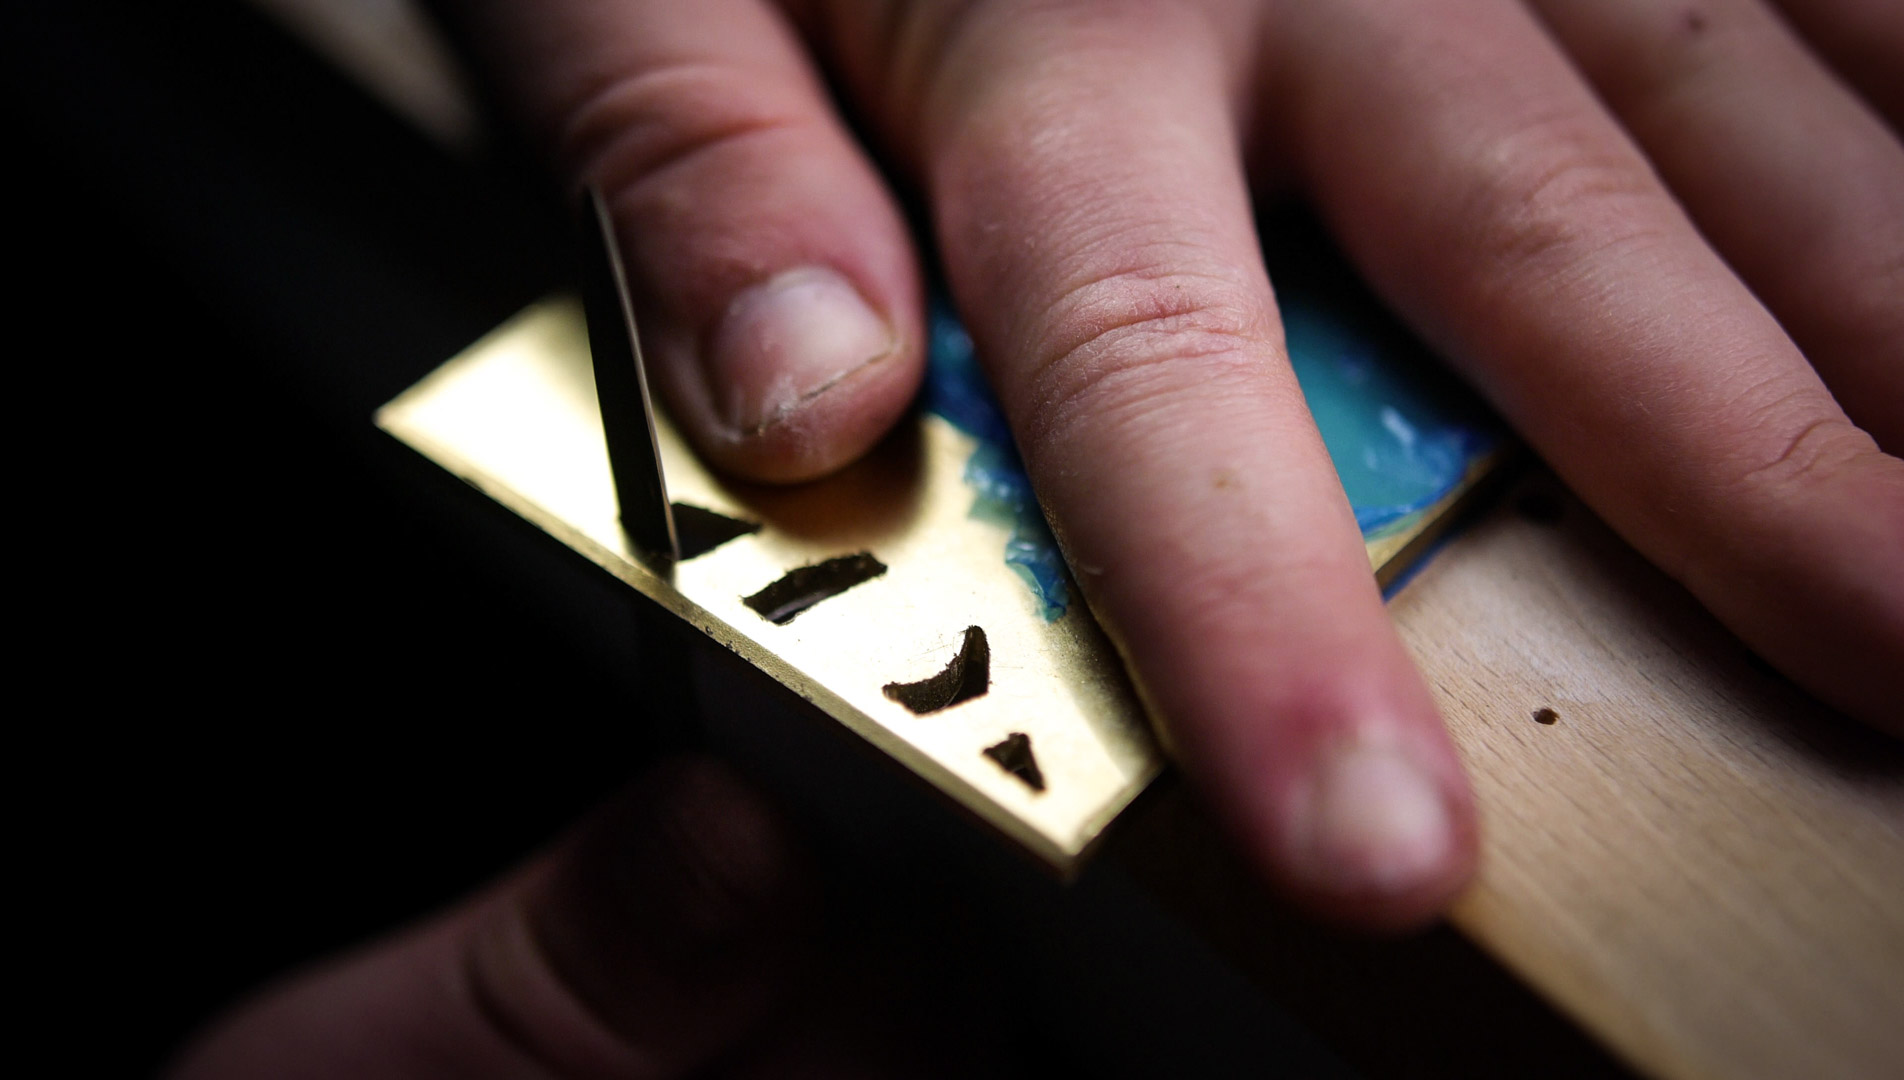
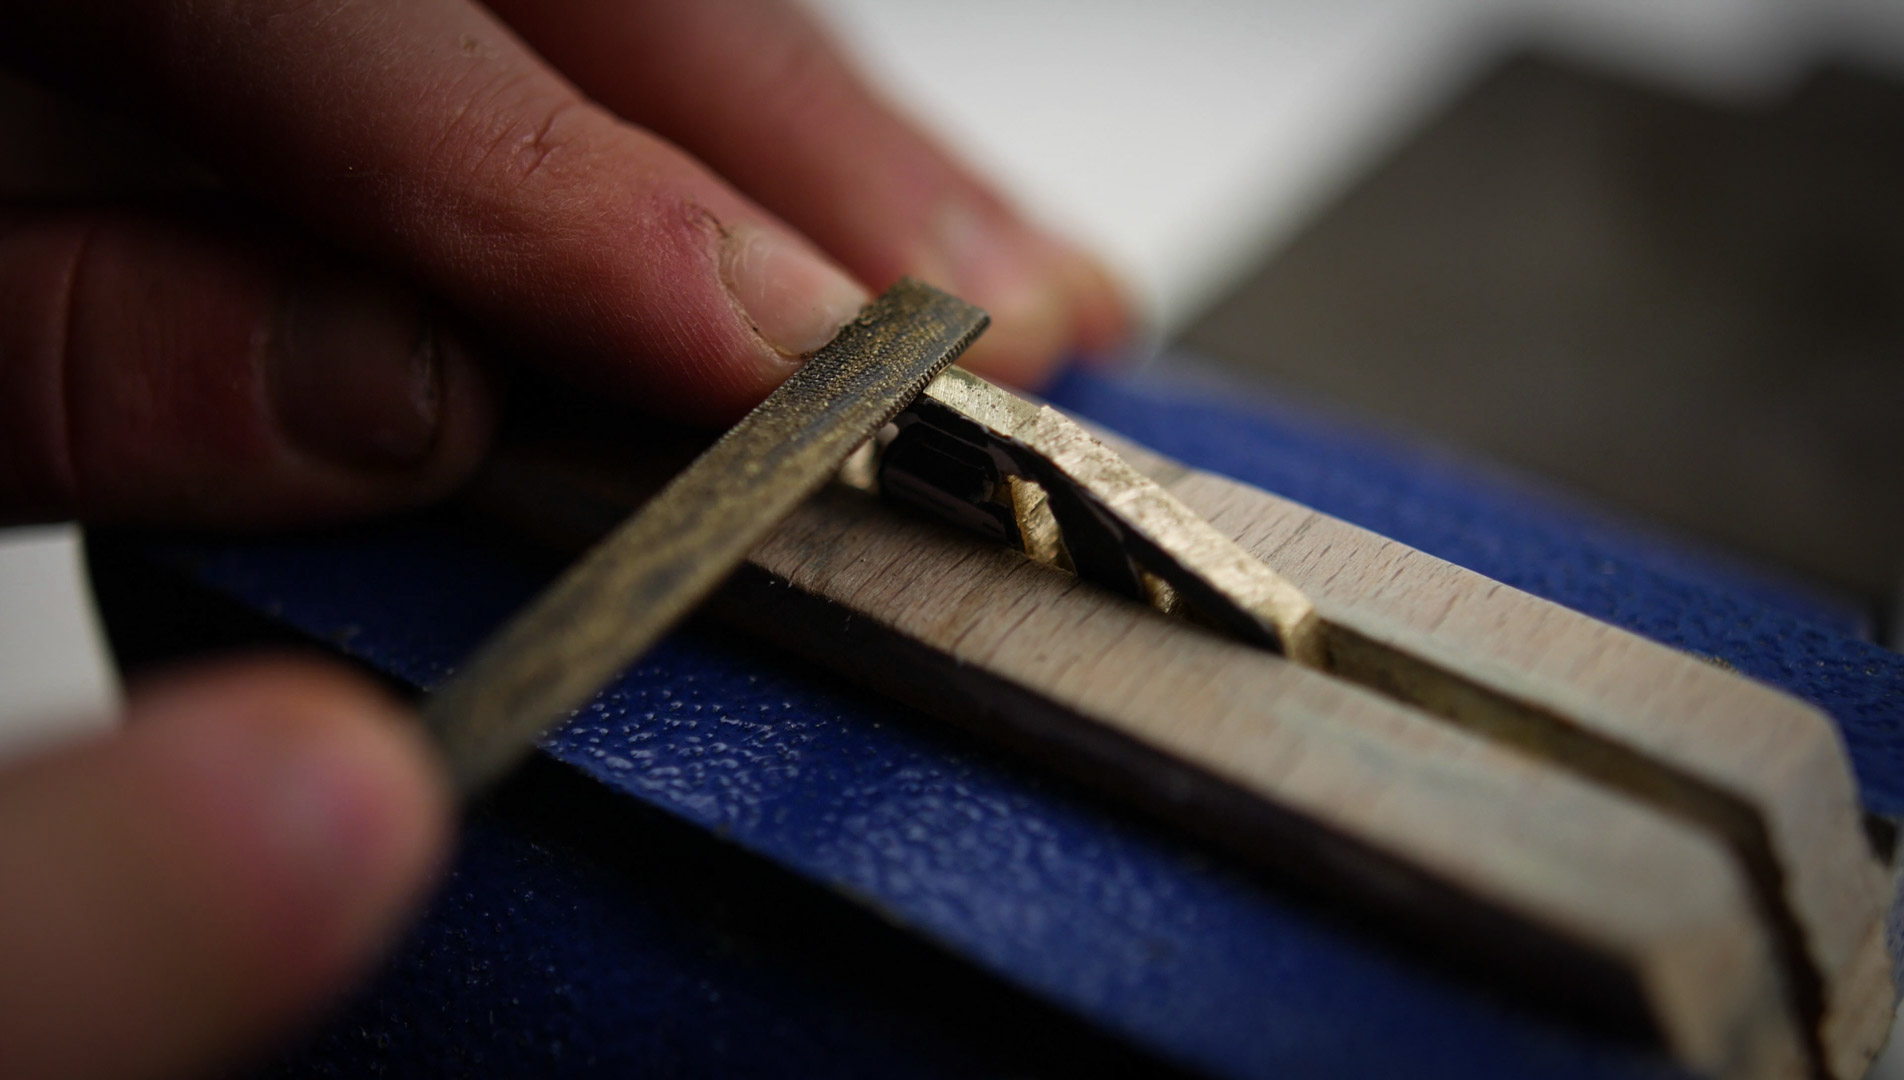
Step 2: Drilling, Filing and Sawing
Start by drilling with your smallest drill bit into the coners of the areas you want to have open. Then use bigger drill bits for the middle parts.
Try to create the rough shape of the holes, but be careful not to drill over the lines of your template. Then keep filing until every hole has clean edges.
This part is very time consuming, and if you are an impatient person like me, it might help watching some TV in the background. Keep in mind that this is some kind of jewellery, which means it is worh to make it as good looking as you can.
Finally saw out the logo and make file down the details of the outline.
(This hole process took me around 2 hours)

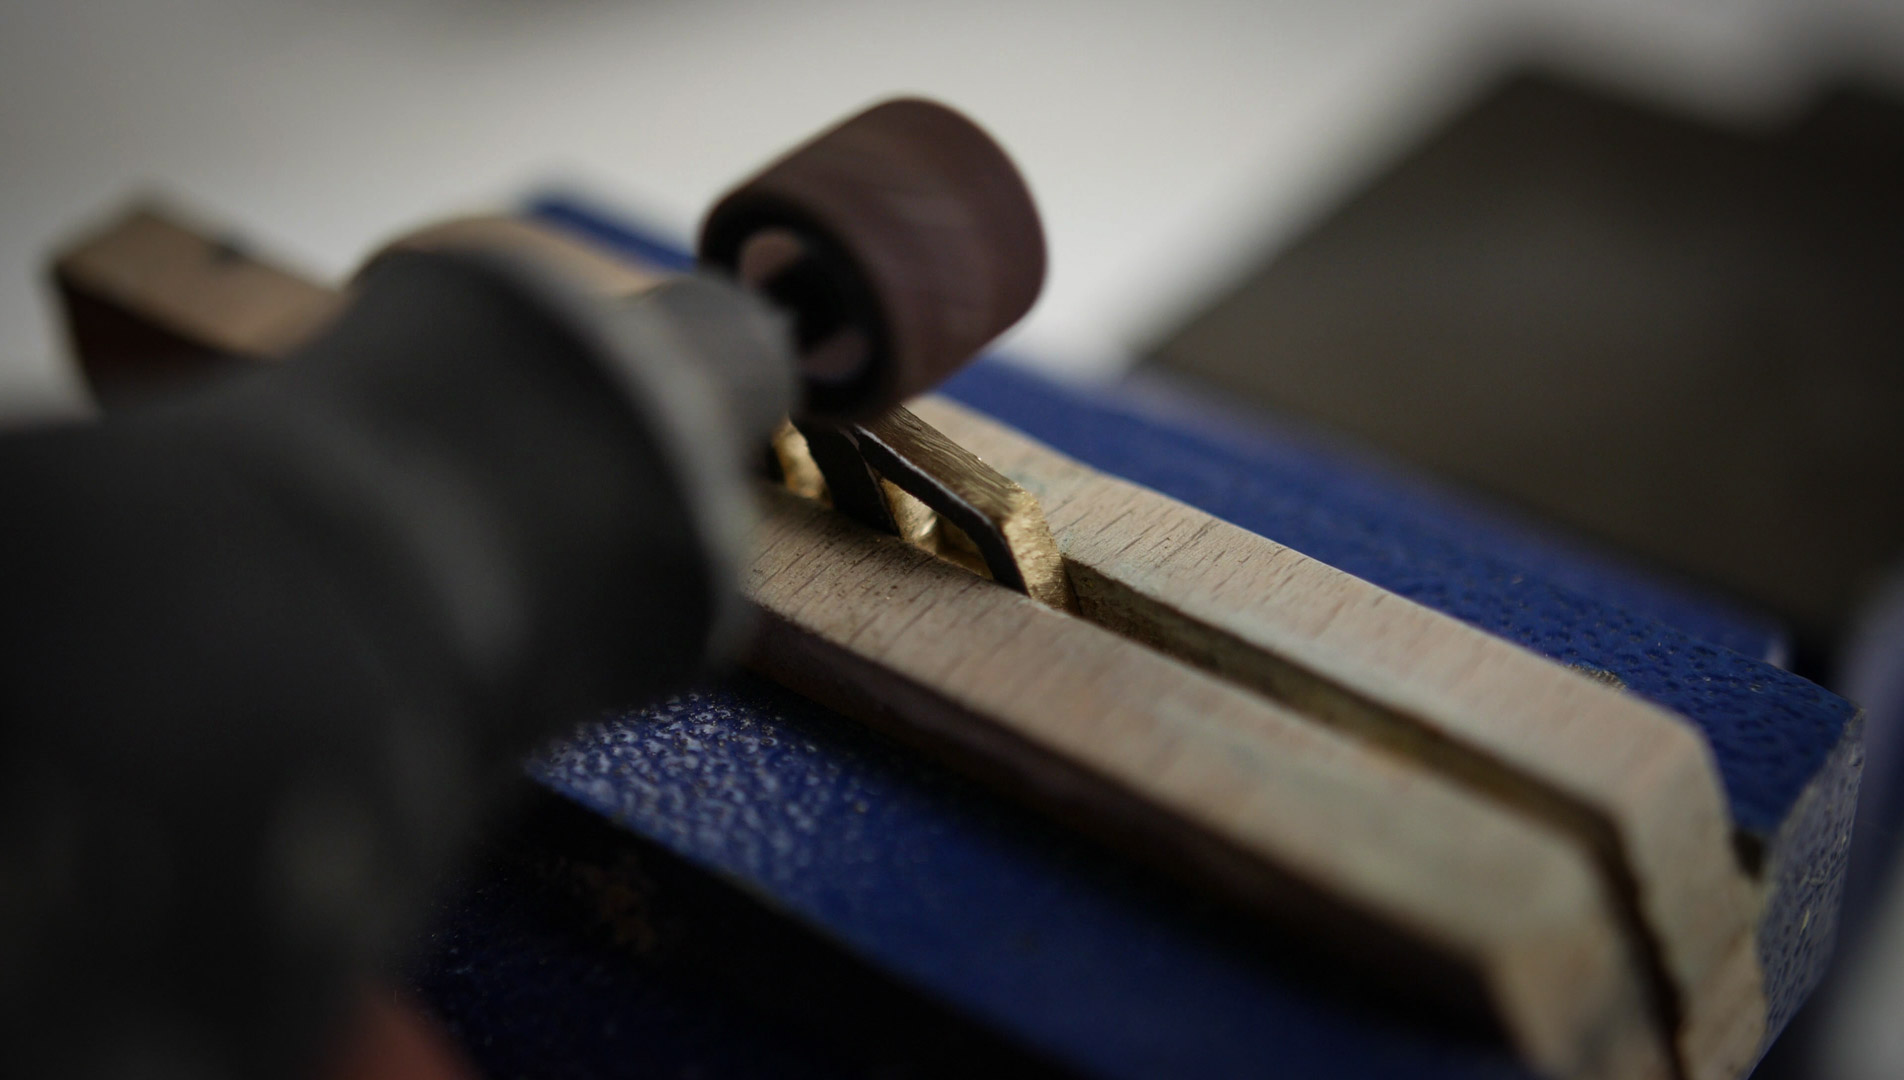
Step 3: Cleaning and Polishing
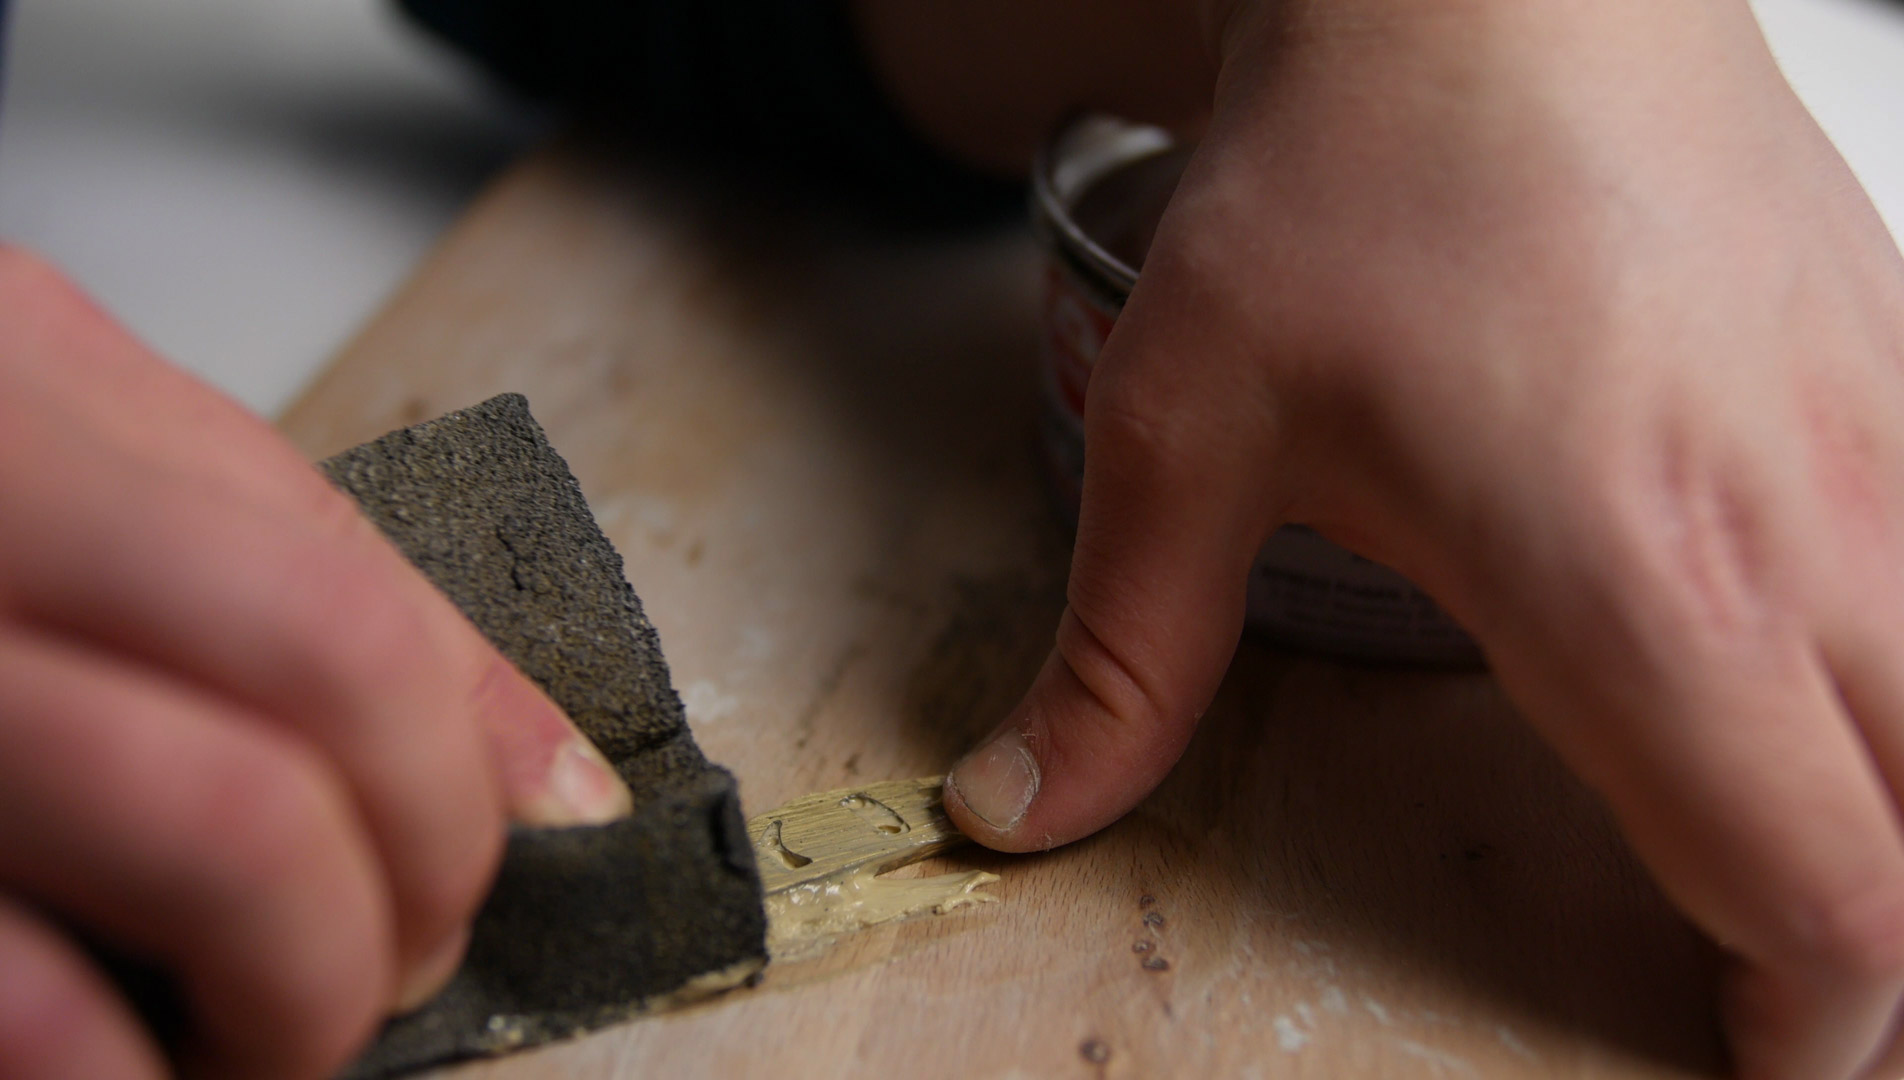


Use your dremel (or cordless screwdrifer with an attached sanding bit) to sand down the outline.
Then take a coarse sanding sponge, apply some polishing paste and keep wiping in the same direction. The soft sponge will provide to smooth out the edges of your holes.
Now clean it off and check if you have to make any final corrections.
Finally use your Dremel to polish it completly clean. If you dont have a dremel, you could just use a simple towel and polishing paste. (It will might take a little longer, but it will work as well).
The moment of your logo getting clean and shiny is probably the most satisfying in this project.
Step 4: Finishing
Take your leather cord and decide how wide you want your necklace to be.
Than tie a strong knot with the ends. Now stick the cord through the desired hole, place it around the logo and pull tight again.
(Watch the Video at 2:05 min)

Epilogue
Thank you for reading my Post. I hope I could inspire you for this little DIY project.
If you want to support me and future projects, please subscribe to my Youtube channel, check out my earlier projects and give me some feedback in the comments.
Please send me a picture if you could successfully build a brass necklace.
NOTHING IS BETTER THAN HOMEMADE! Rideable Entertainment
Downloads
