Get Inspired
Instructions
Introduction:

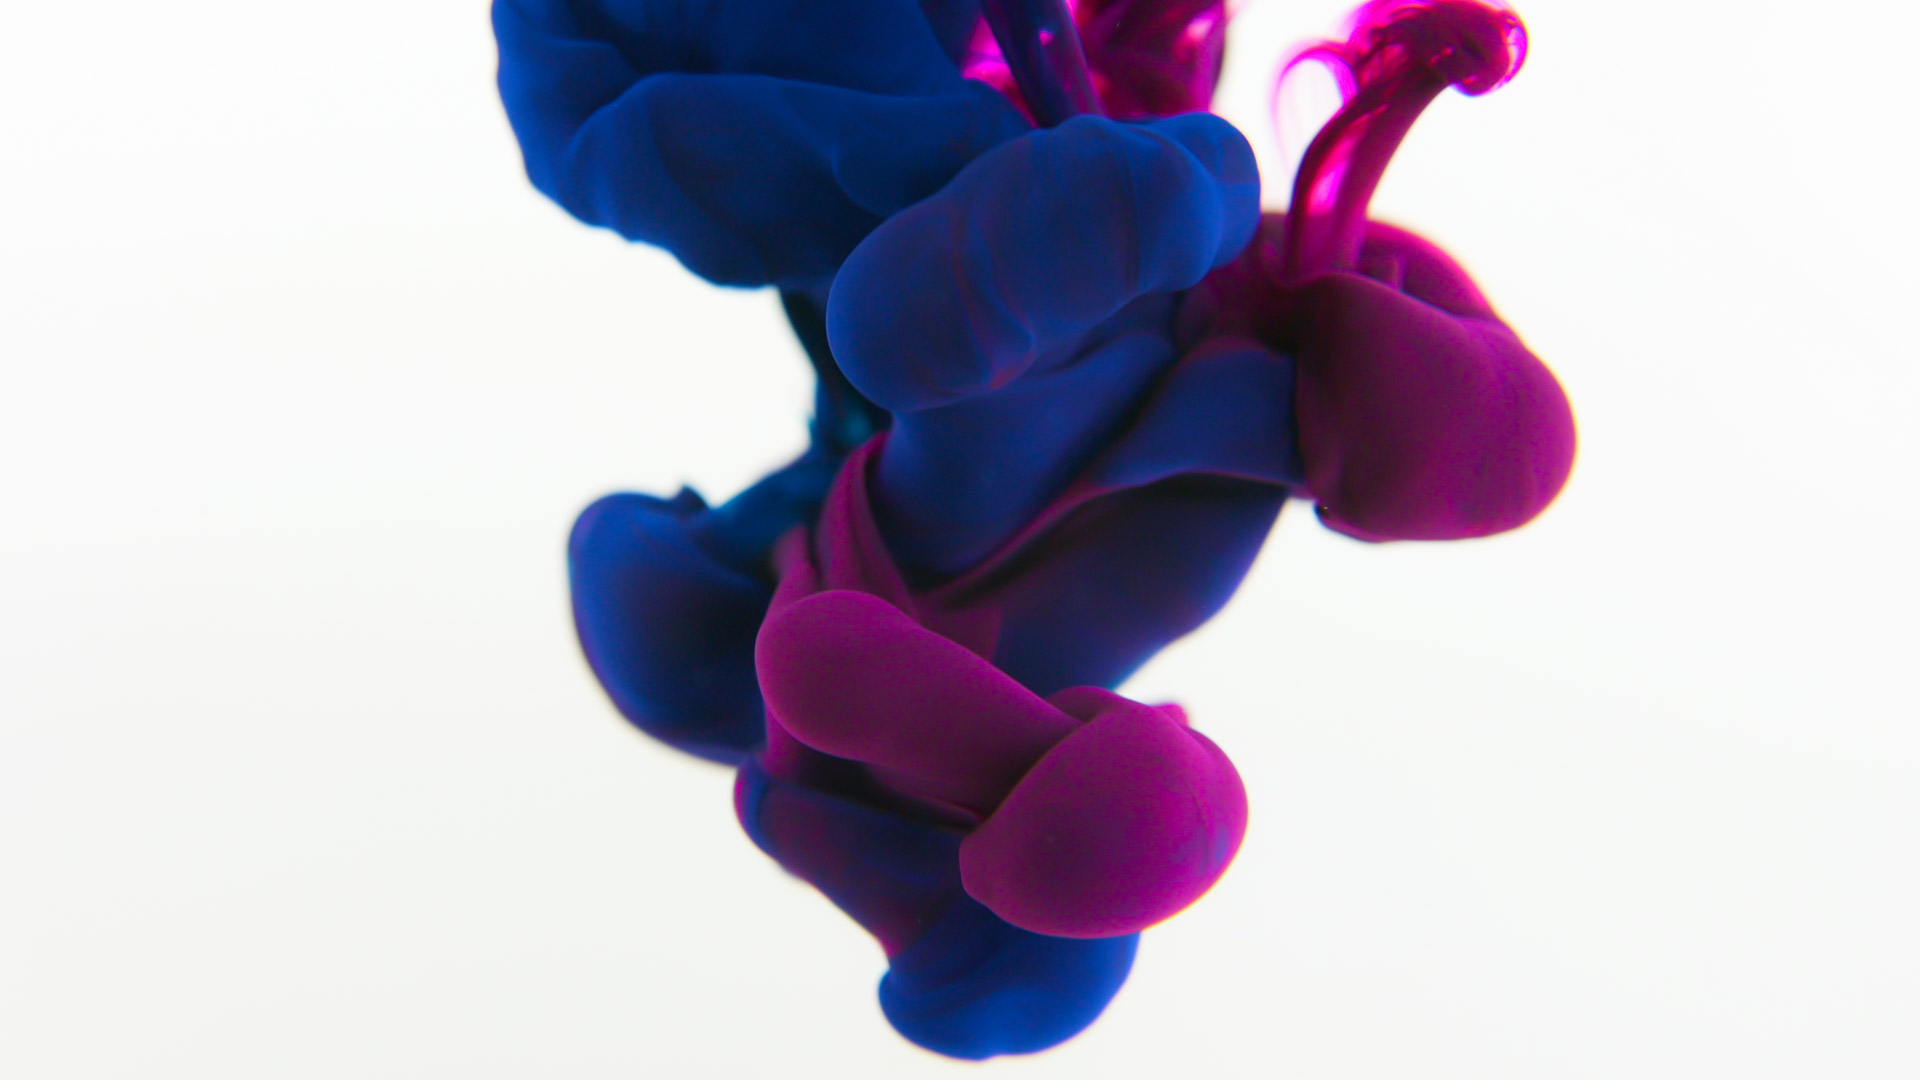

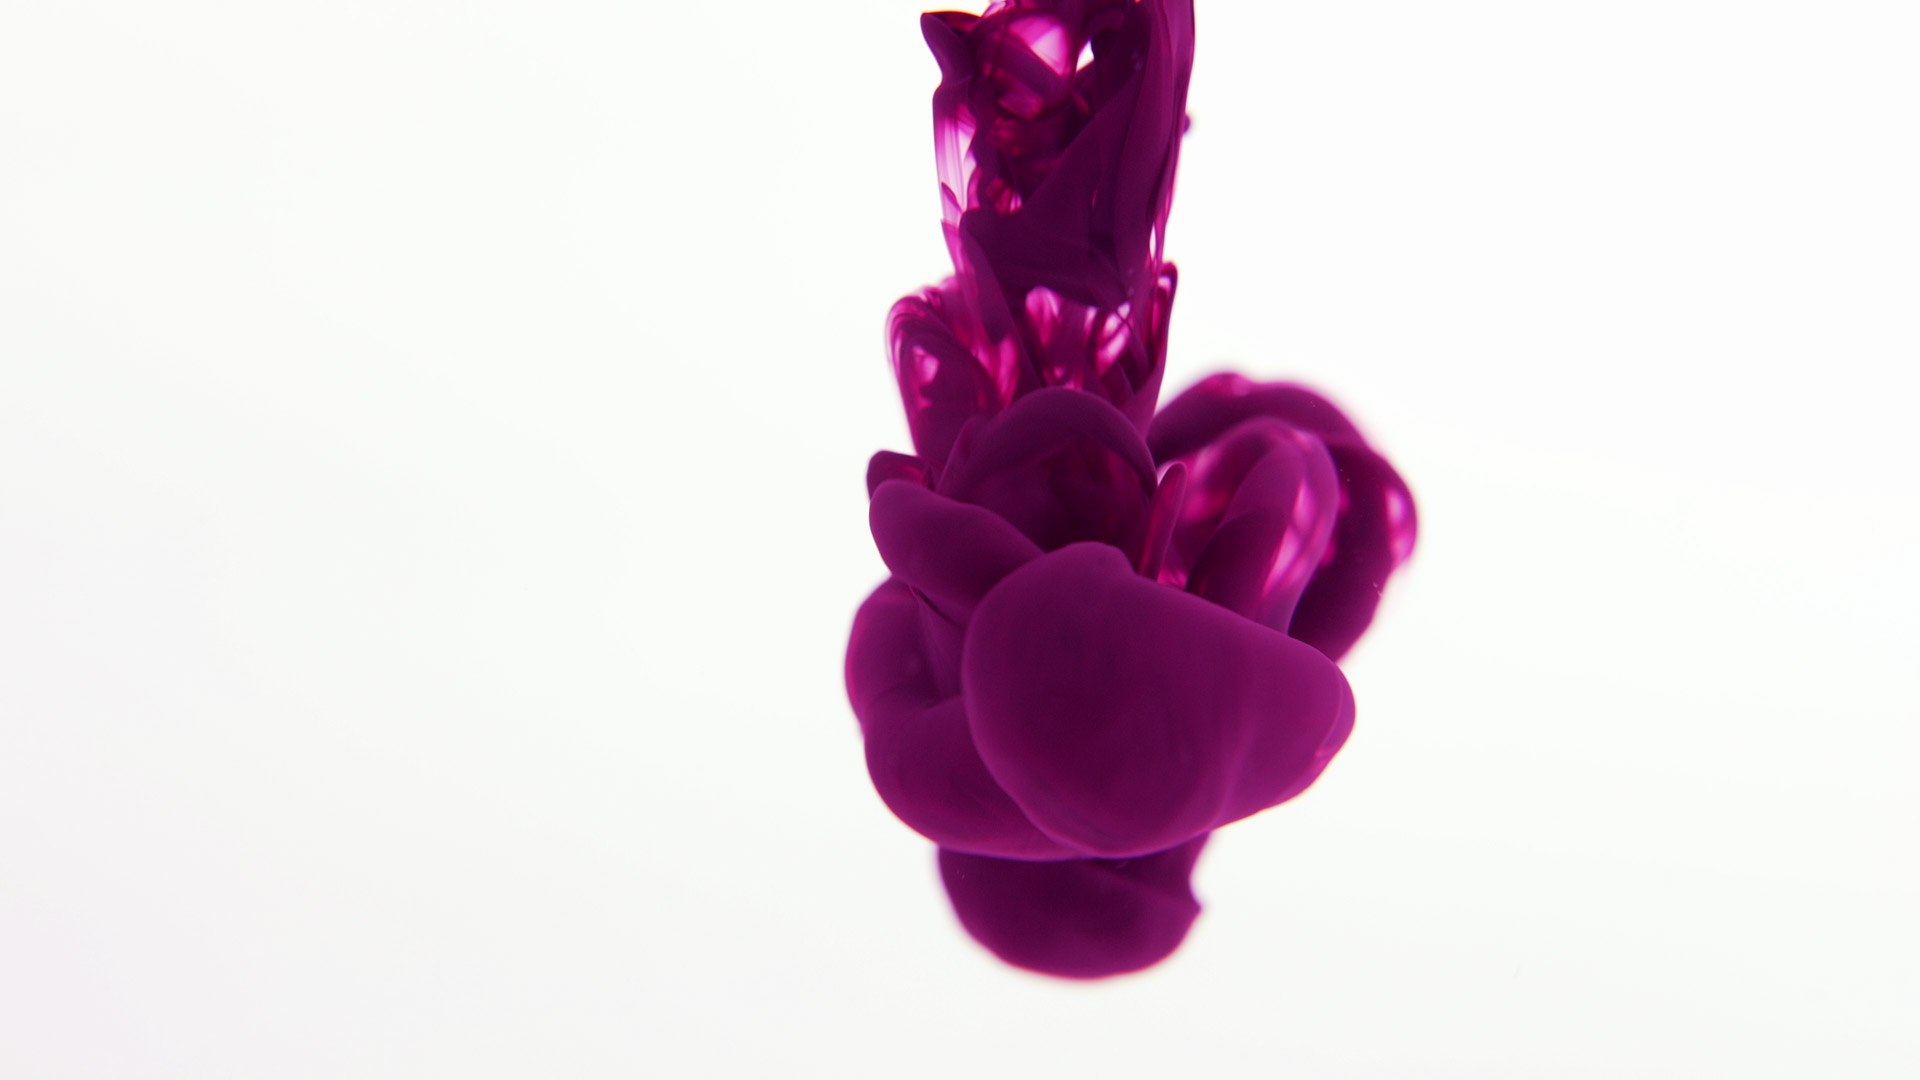
In this instructable I want to show you, how to create your own stunning INK in WATER Photos and Videos. Every shape is unique in it´s way and it`s a nice way to create awesome Images for a PC Background or even wall pictures.
I want to show you, what Materials you will need, how to build your own Aquarium and how to set up you own Ink-in-Water Photography Studio. The Video will guide you through the main Building Process and might give you an Idea, what Images you can expect.
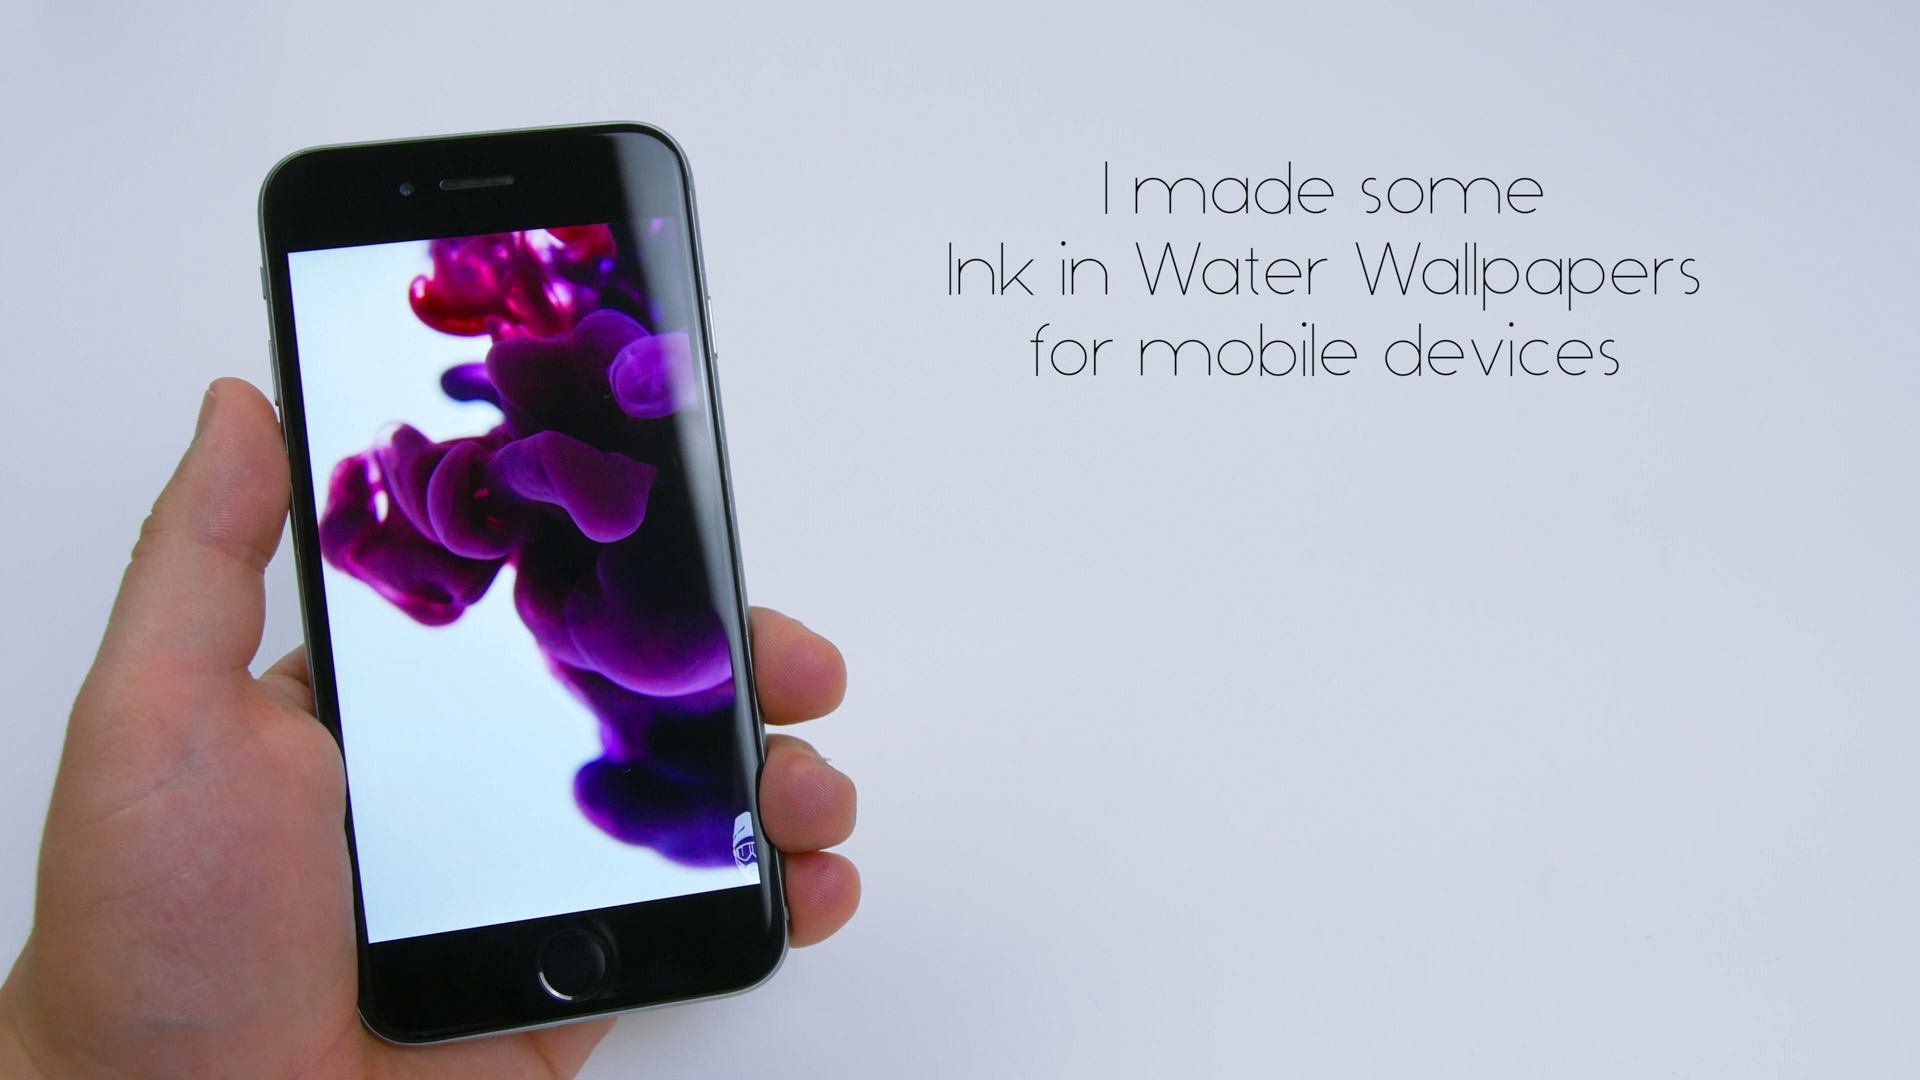
For those of you, who are more interested in enjoying these images, instead of creating them on your own, I made a dozen „Ink in Water“ Wallpapers for mobile devices for free to DOWNLOAD.
Materials
- Aquarium glassAquarium Silicone
- (Alternatively you could buy a small Aquarium)
Materials for the Photography-Studio:
- 2 white Panels (underneath and behind the Aquarium) I used two Ikea shelf floors, and it pretty much does the job quite well.
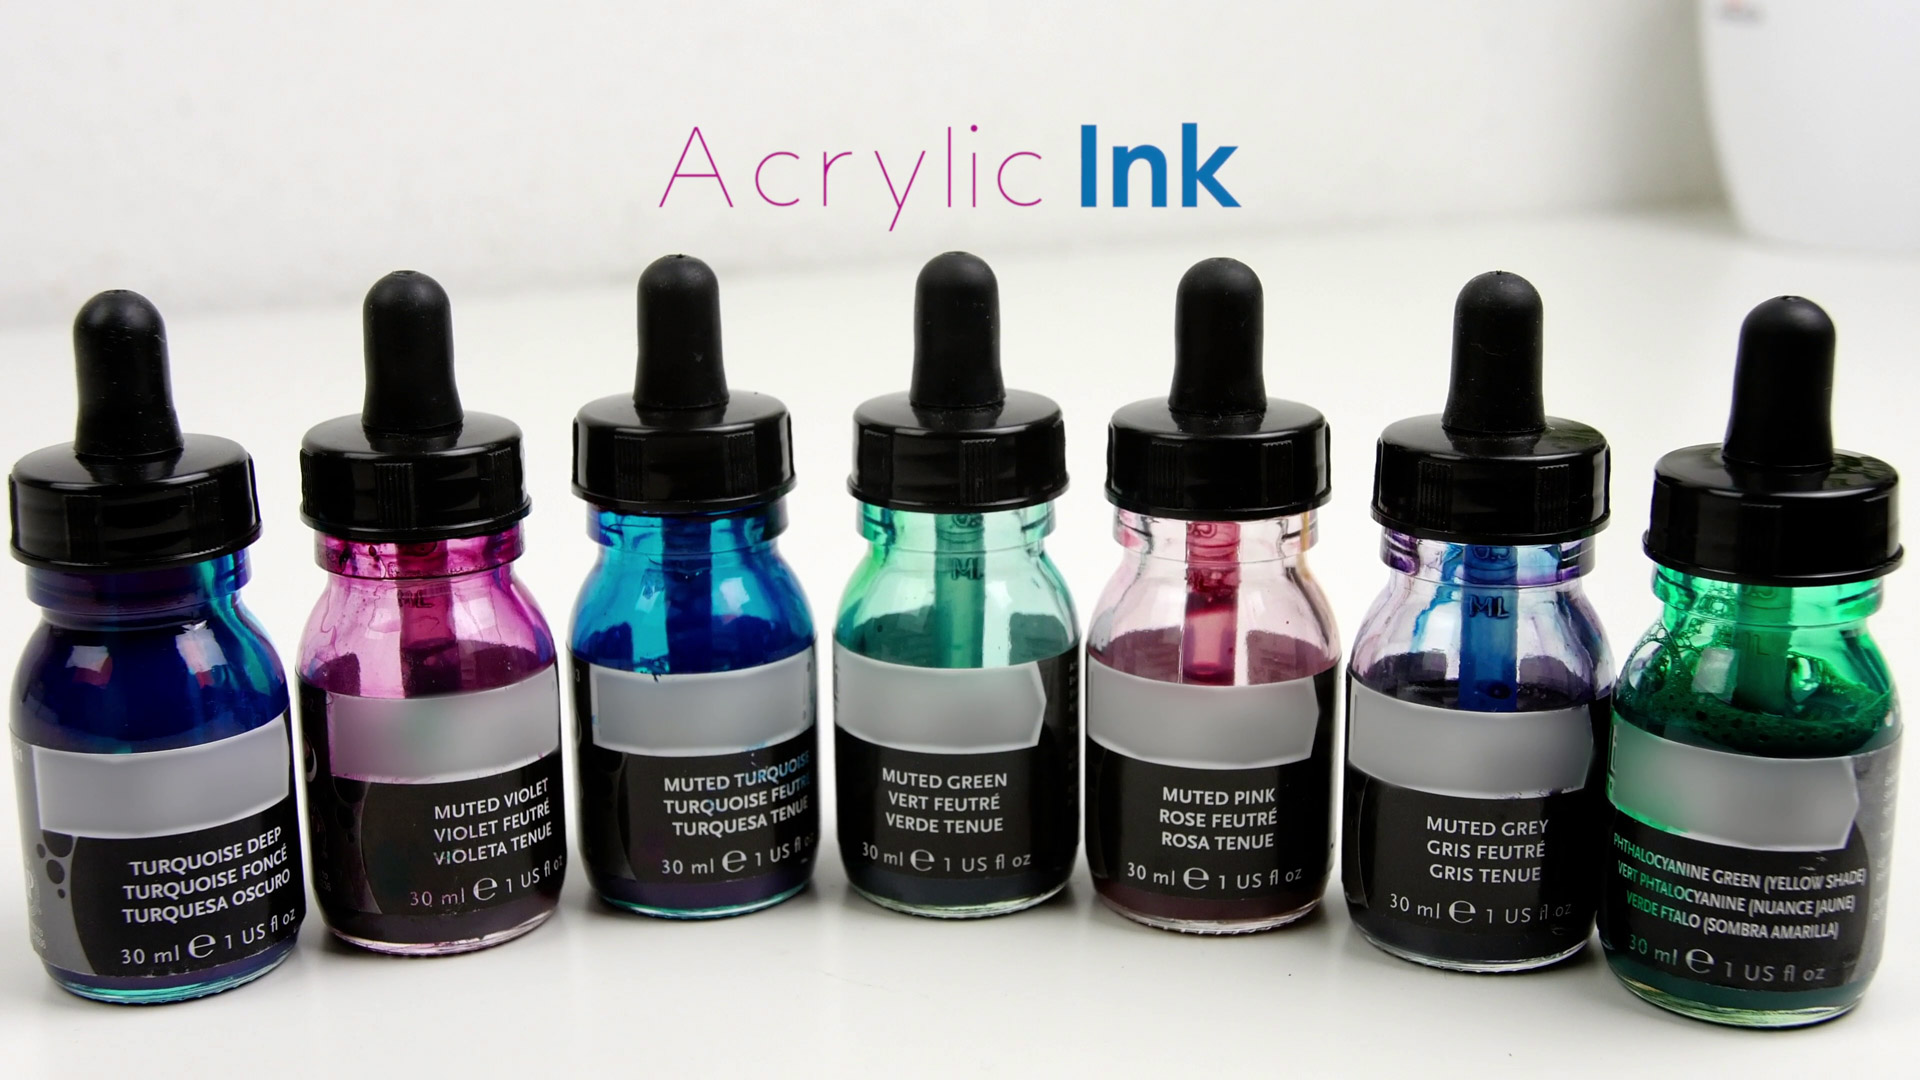
- Colored Acrylic Ink: It will create stunning clouds, when they are poured into the water.
- 2 Studio Lights: one to lighten up the white Studio-background panel and one to light up the Ink itself.
- A Camera: optiamally with wide aperture and fast shutter speedres

Step 1: Build the Aquarium, Preparation
For your Photography Studio you will need a small Aquarium. For mine I decided to choose dimensions of 30x20x20 cm. One 10 litre bucket will be enough to fill it up and it will be light enough to carry it to the zink without any trouble.
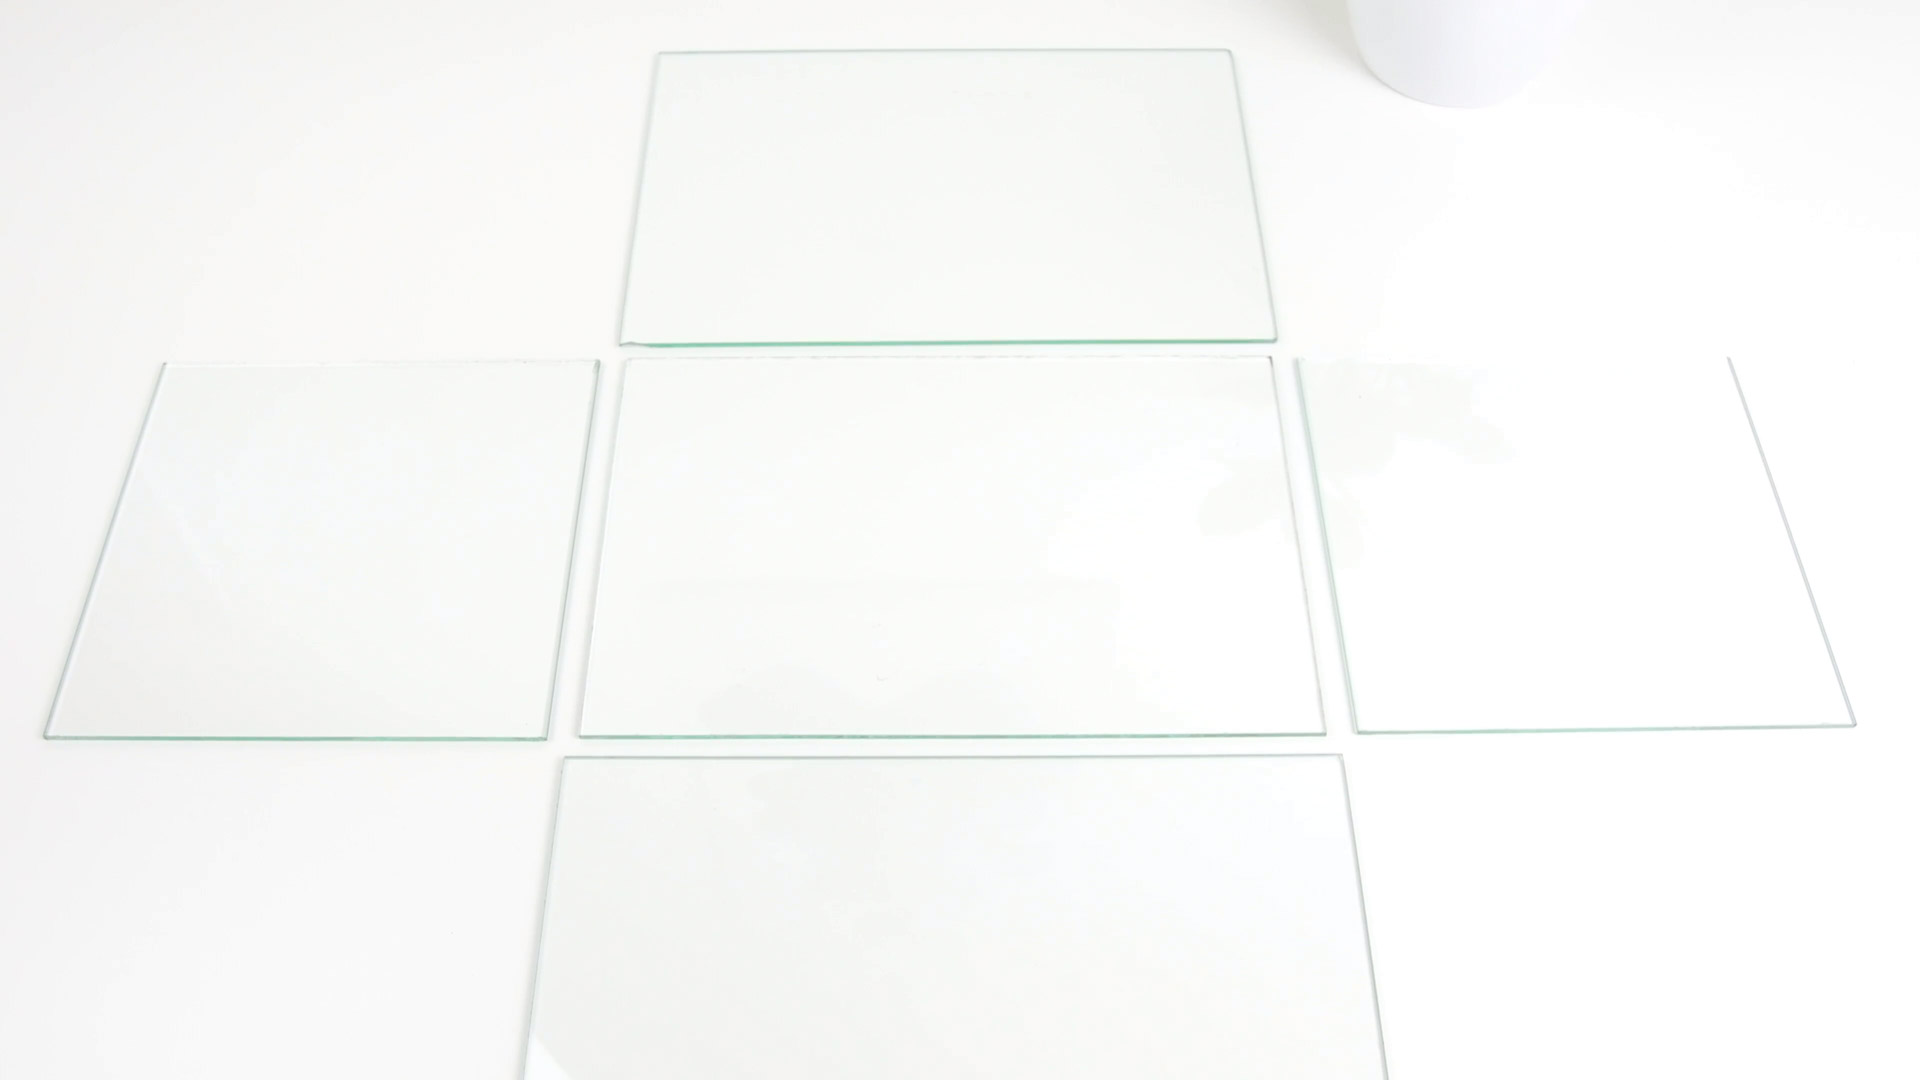
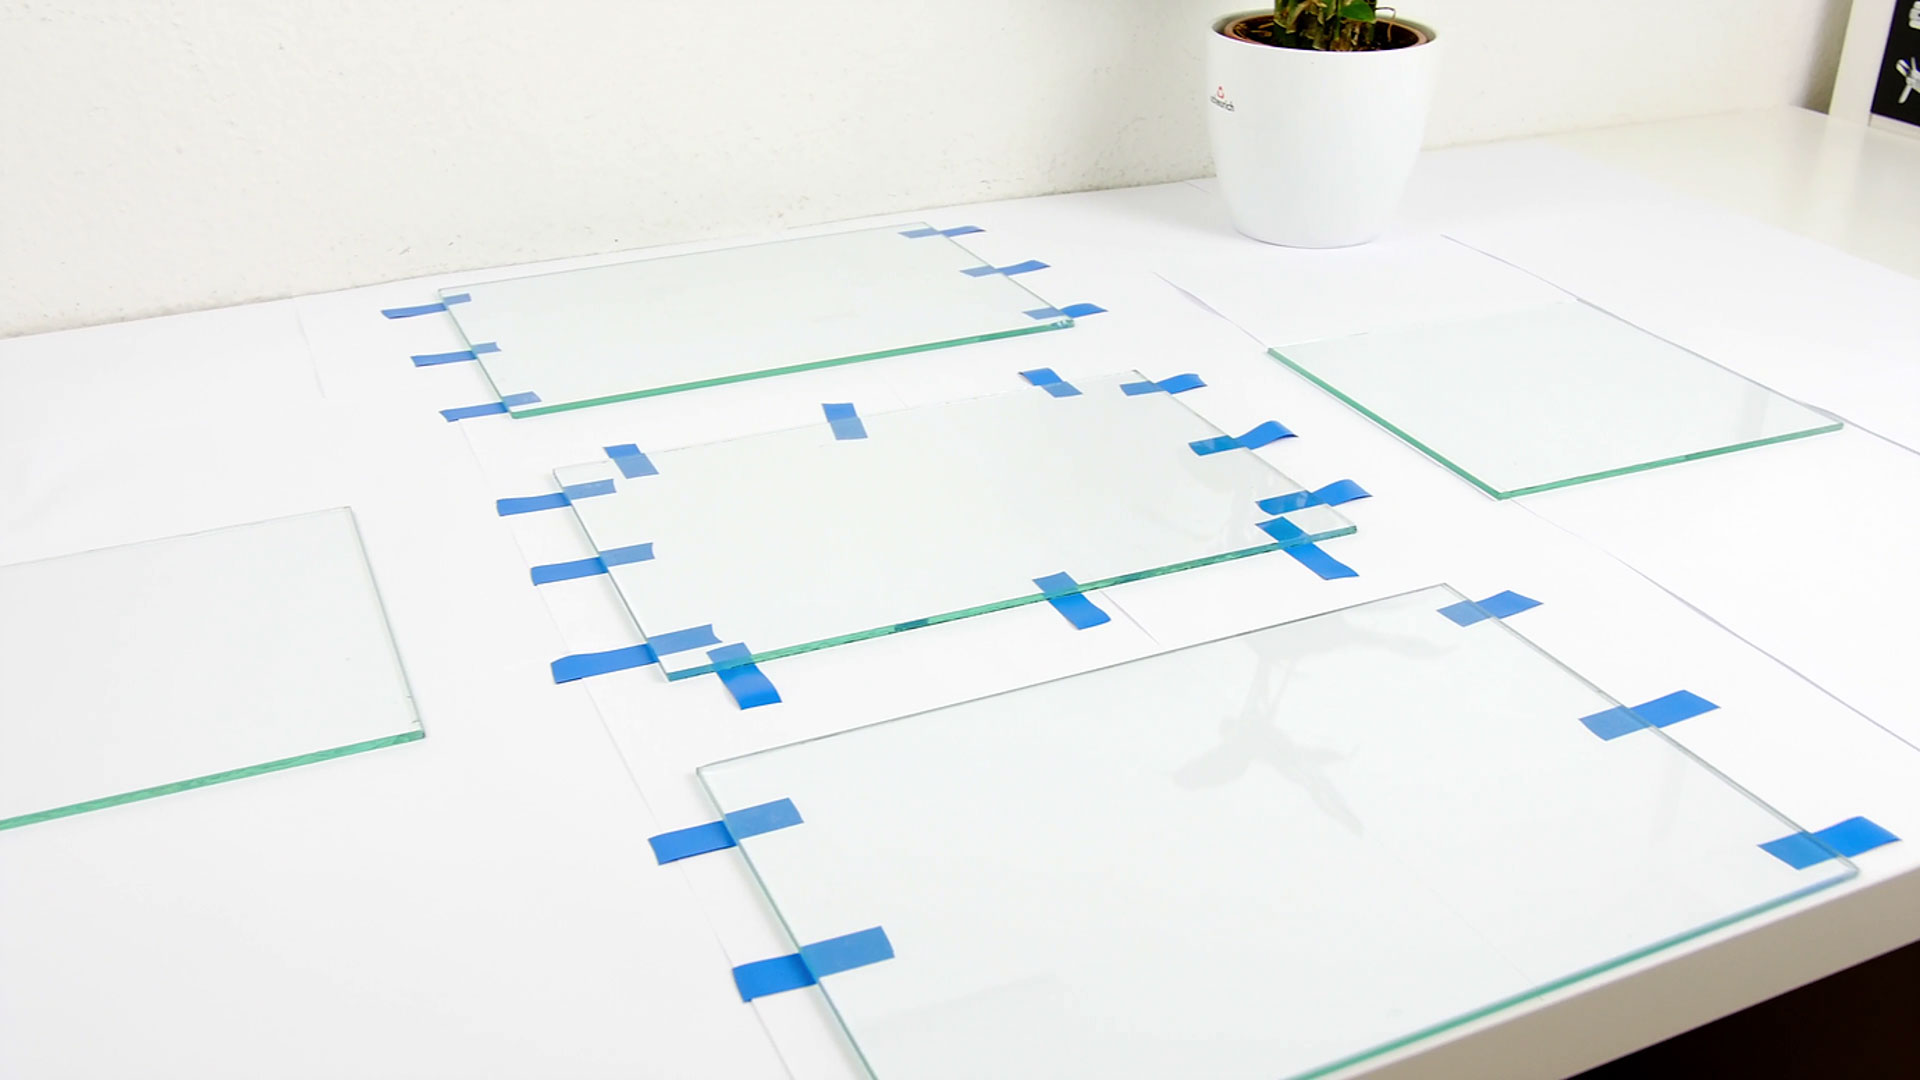
So I bought some inexpensive 3mm thick glass in a DIY store and let them cut it to these dimensions:
– one Bottom Panel: 29,40×19,40 cm
– two Front/Back Panels: 30,00×20,00 cm
– two Side Panels: 19,40×20,00 cm
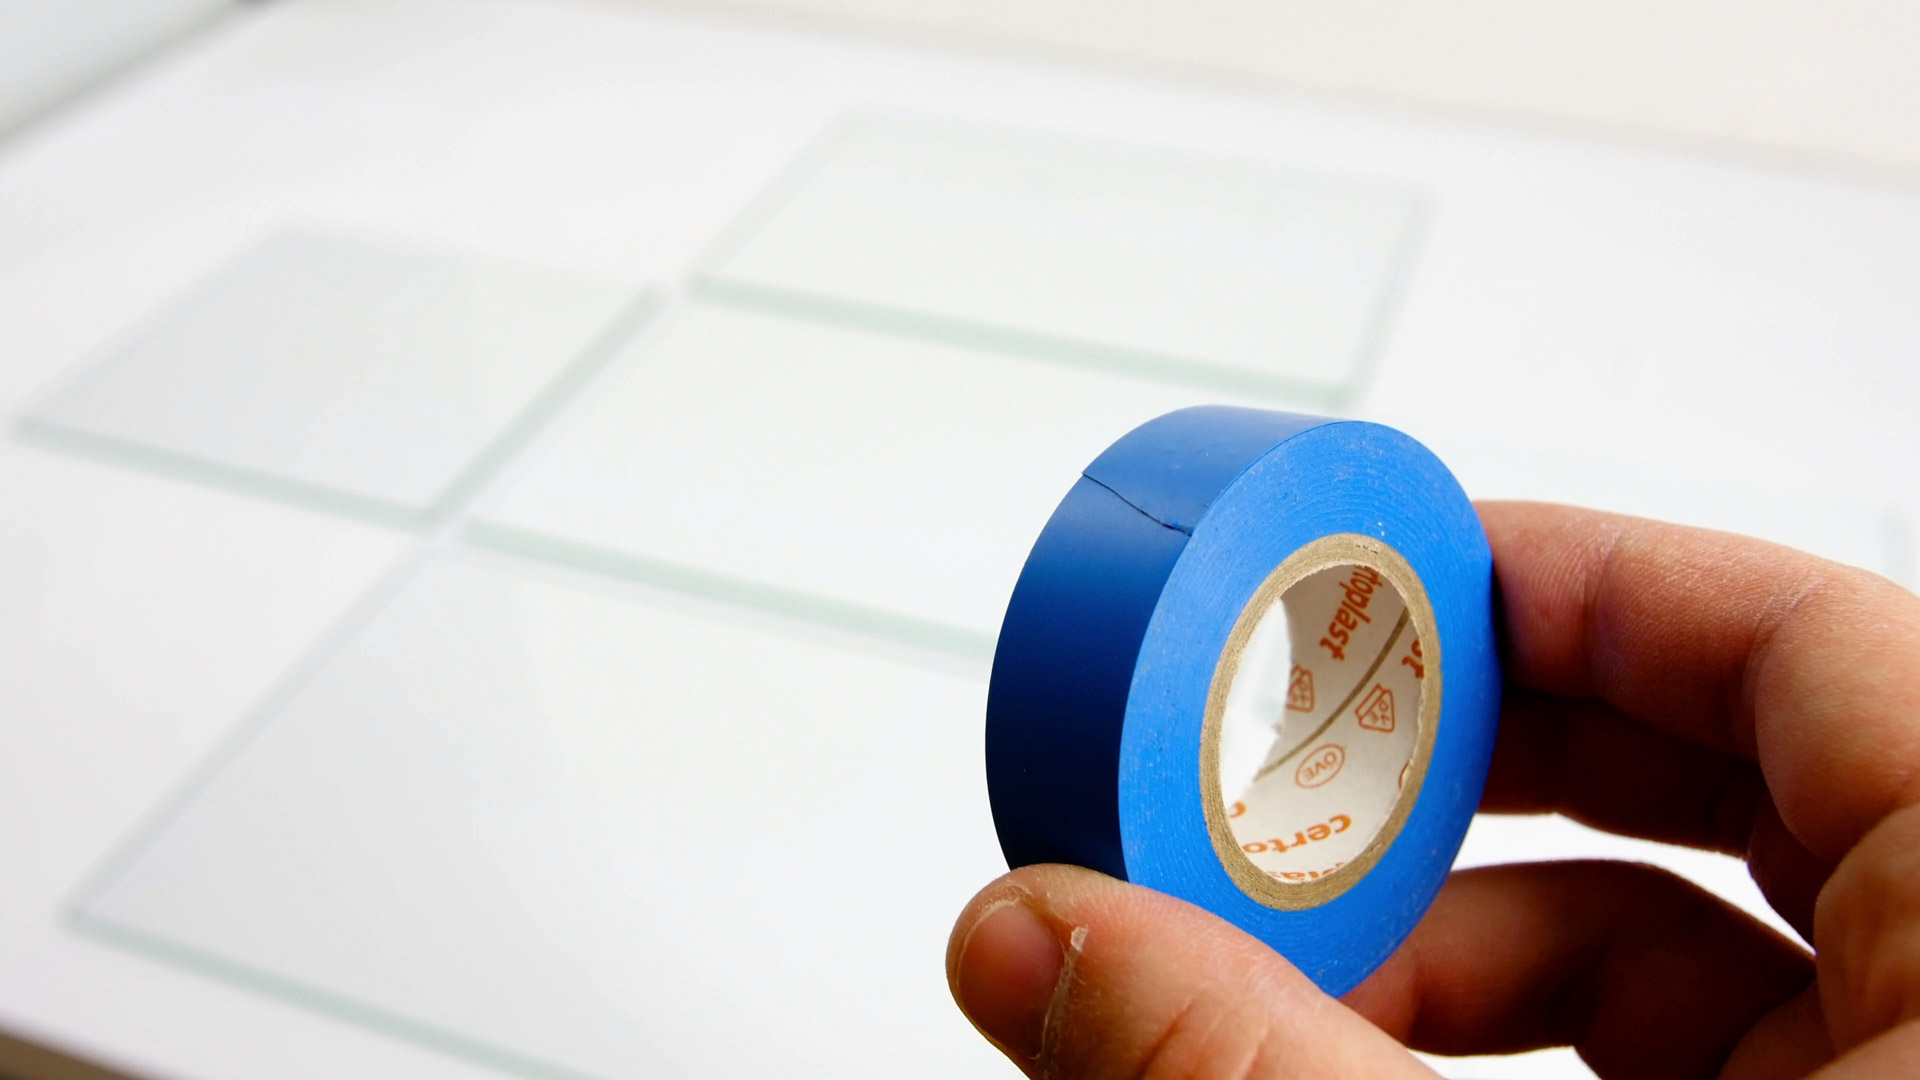
To glue it together later with the Aquarium silicone, I decided to prepare my panels with electrical tape to have three tape peaces on each joint. The advantage of the electrical tape is, that it is a little bit stretchable and it does stick quite well on flat surfaces like glass.
Step 2: Build the Aquarium, First Glueing
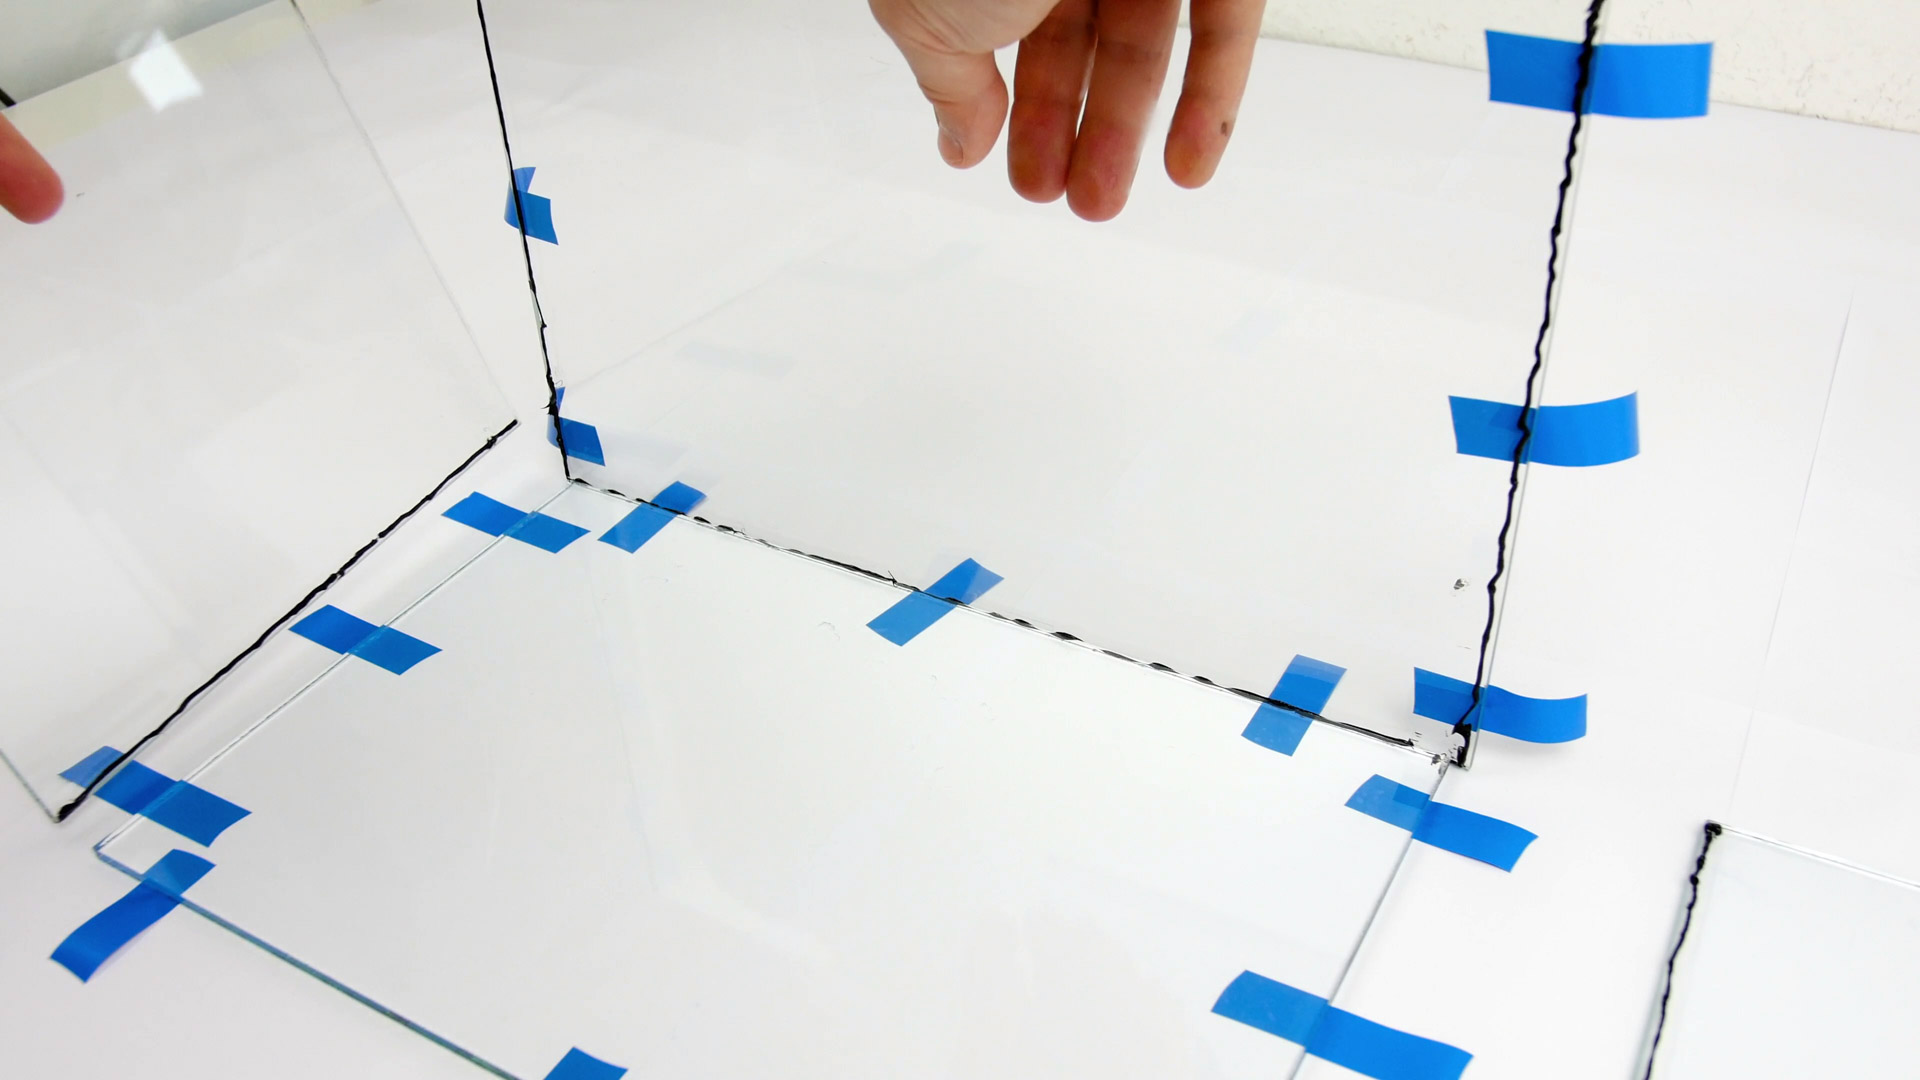
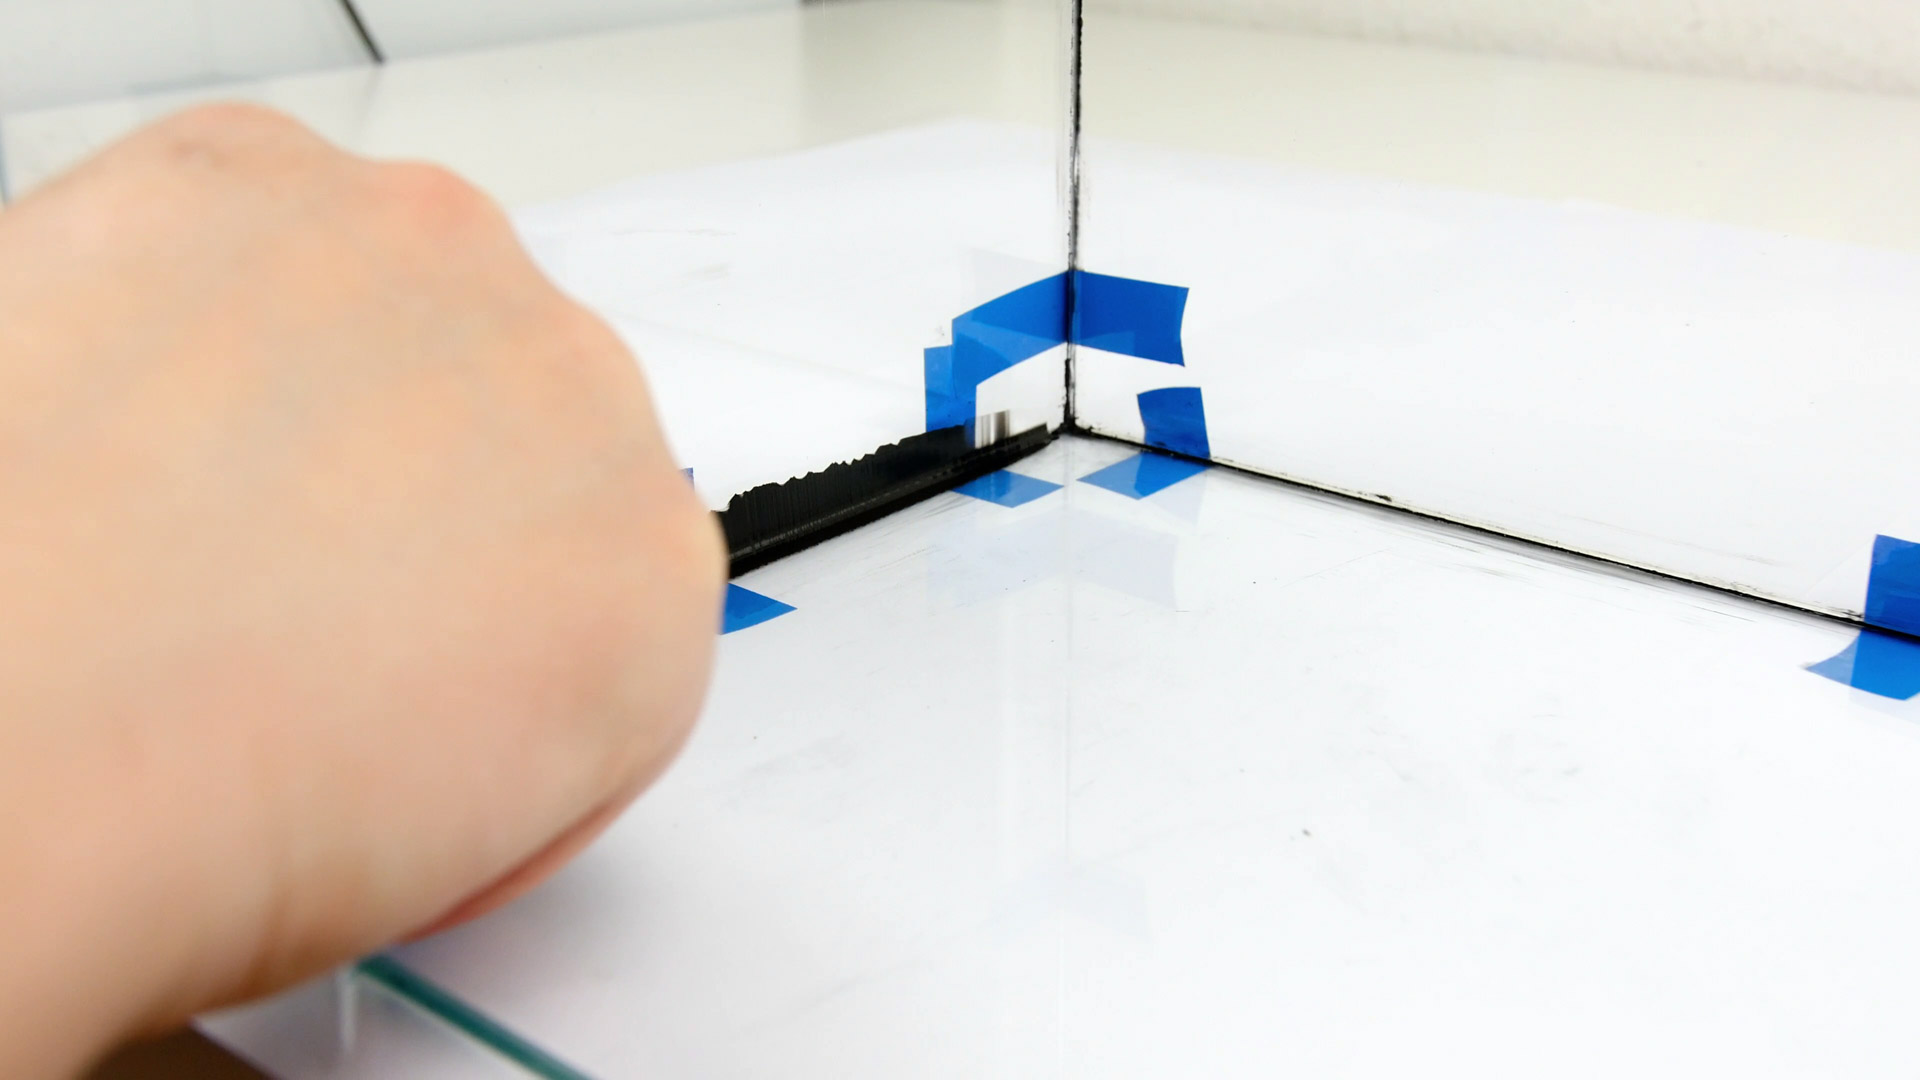
Start by laying the glass into position, to figure out cleary where the overhanging peaces are and make sure you have some kind of working pad underneath it. The black Aquarium will stick everywhere and won’t be easy to remove once it got hard.
Then use your Aquarium Silicone and press lines on the overhanging peaces, push the joints together, and fix everything with the electrical tape. Then remove the remaining silicone with a towel. I like to use less silicone during this step, scince I really want this code to just hold the glass together.
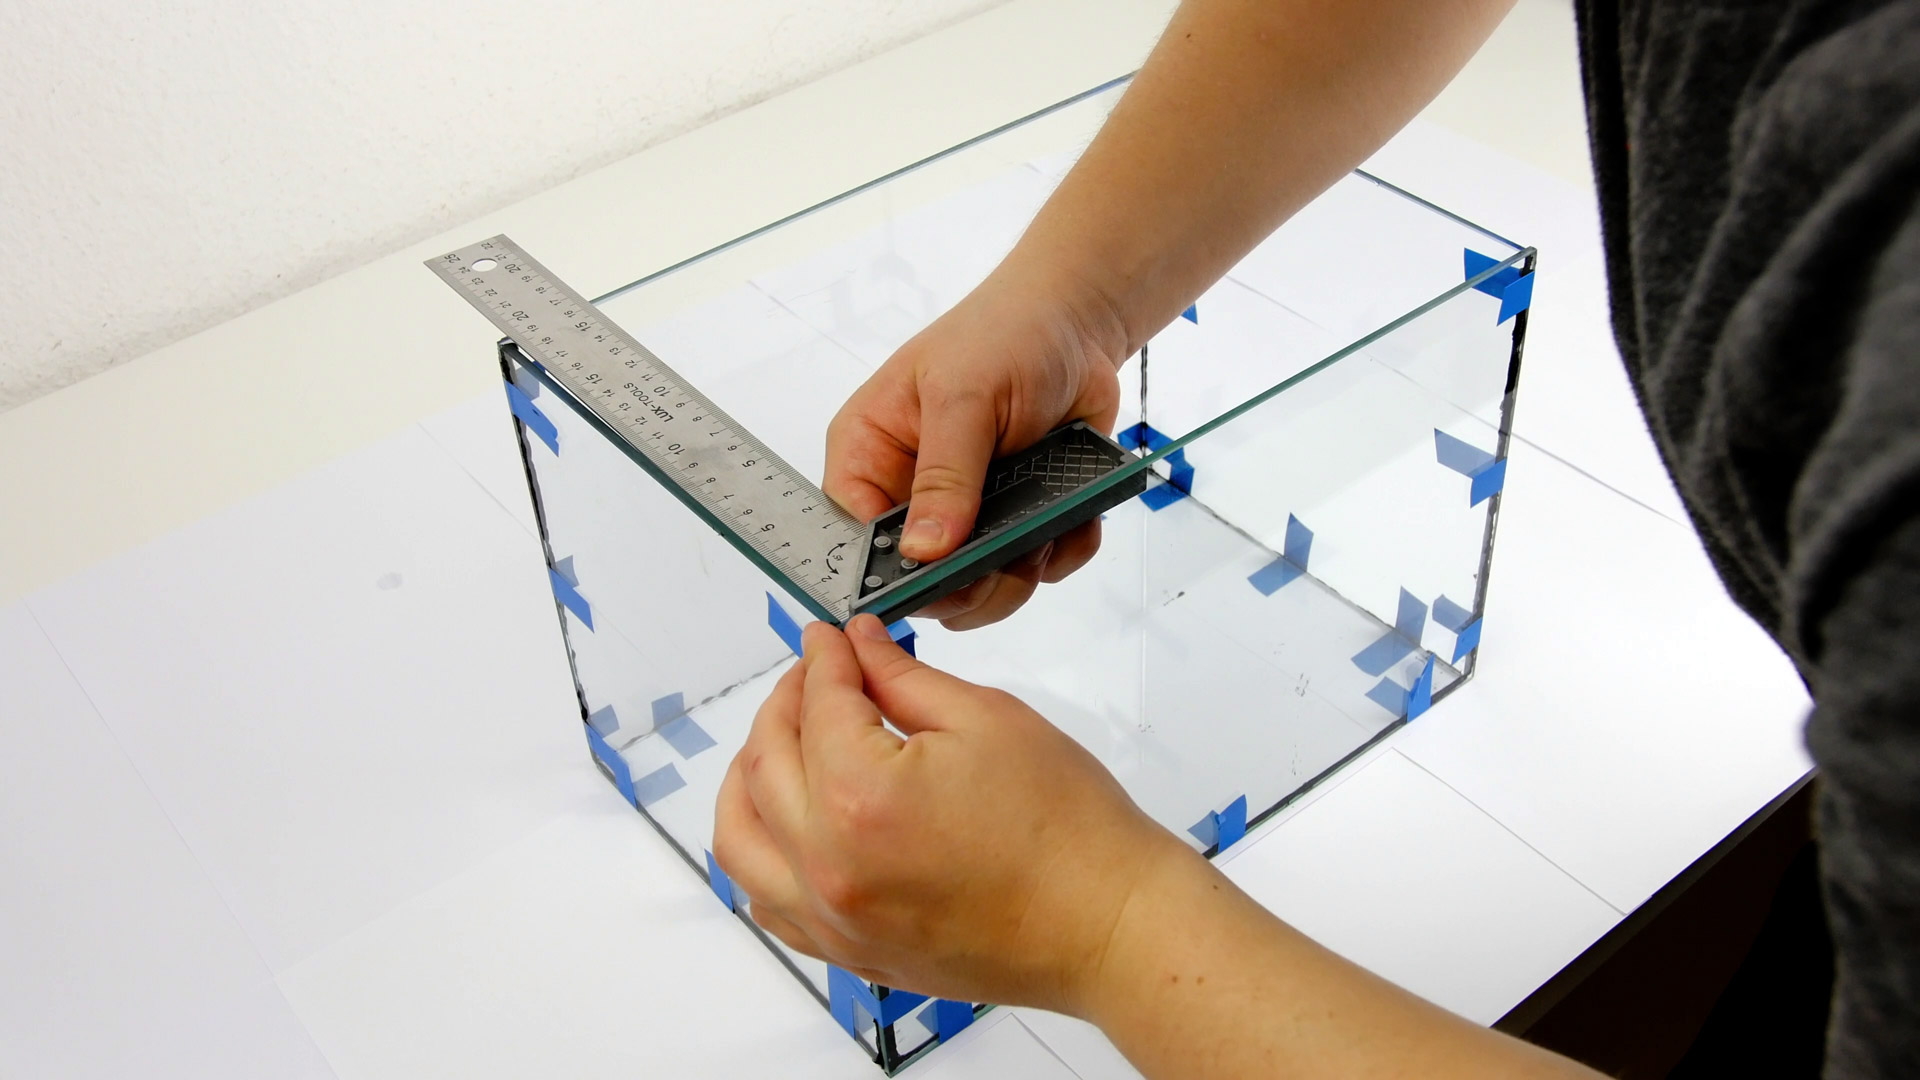
As soon you have glued all glass panels together, check if every corner is about 90 degrees, otherwise do some final fixes. Then let it dry for at least 24 hours.


Step 3: Build the Aquarium, Second Glueing

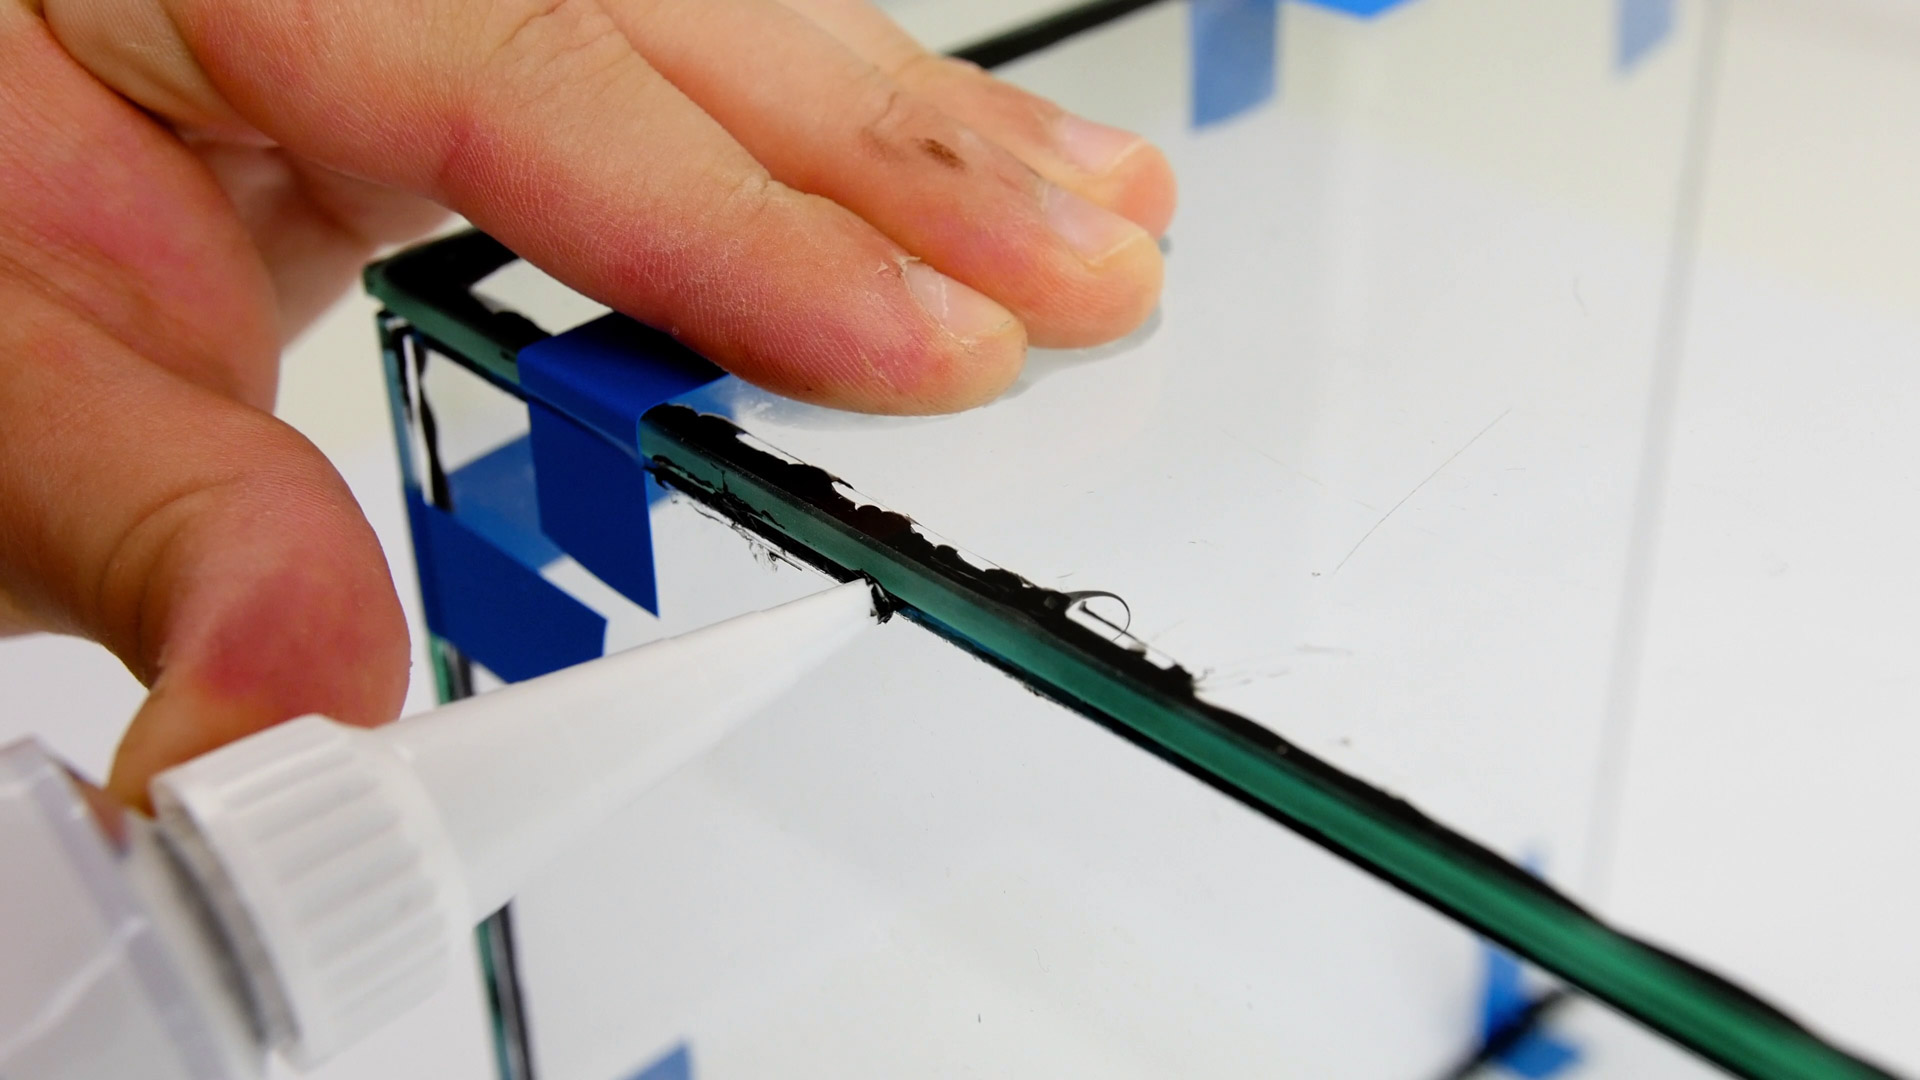

Now make sure that there are no empty spaces in the joints. In this step you need to press the aquarium silicone into every tiny gap to make it waterproof. But make sure to wipe it clean soon after.
Repeat this process on each corner. Then clean up the surfaces of each glass panels to make sure there are no black Silicone marks, where you do not want them.
Then let it dry out for at least 48 hours..
Step 4: Set Up Your DIY Photography Studio
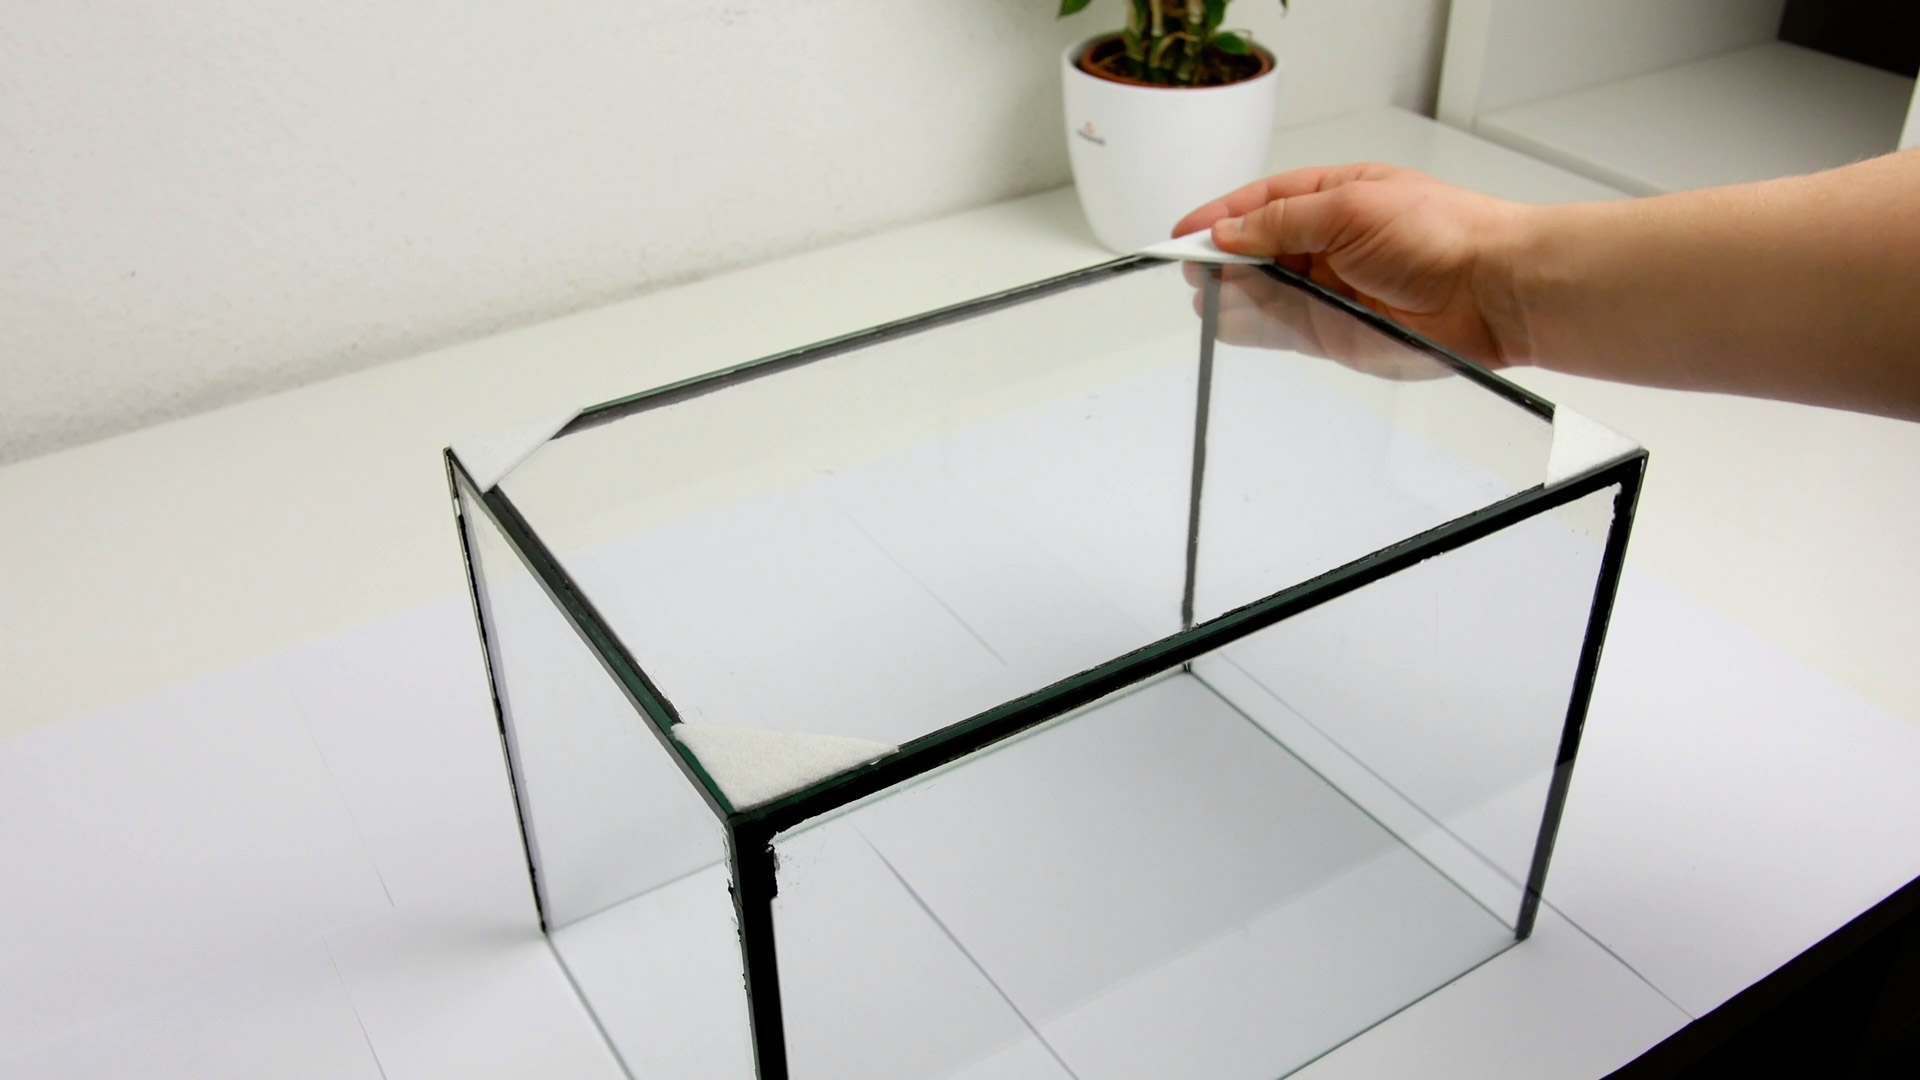
You can finally remove all stripes of electrical tape and enjoy the view of your selfmade Aquarium.
I recommend to apply some felt pads on the bottom, to avoid broken corners on long term. Remember, you will change water quite often and will have to move it more often, than a usual Aquarium for fishes or small pets.
Now place a big white panel behind and underneath the Aquarium. This guarantees a clean background later.
Then Setup the lights: I took two 20 € studio lights. One to light up exclusively the background and one directly pointed at the Aquarium.


Step 5: How to Get the PIME SHOTS
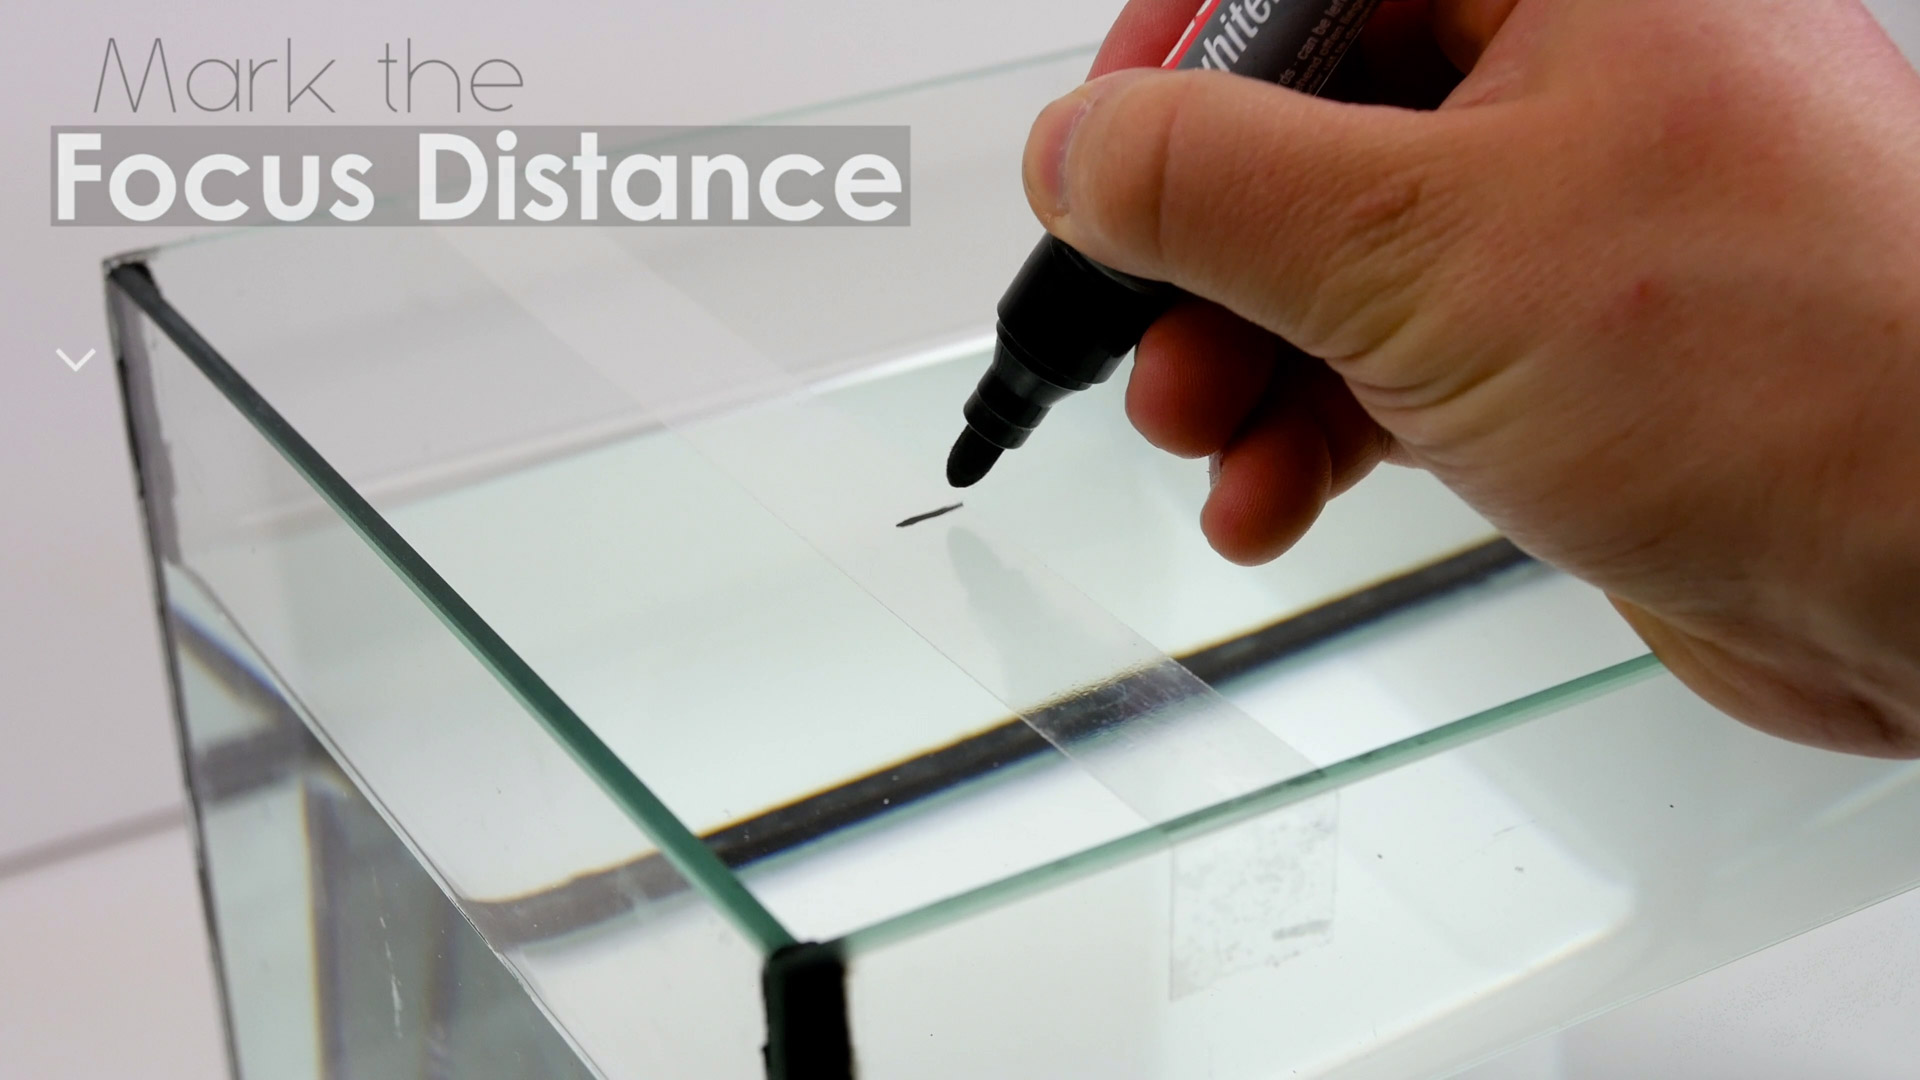

At first you have to make sure to hit focus. I recommend to focus manually, to get nice clean lines of the ink in the foreground and some soft blur in the background.
So you should mark the focus distance: Set up your camera directly infront of your filled aquarium and make sure you have a perfectly clean white background.
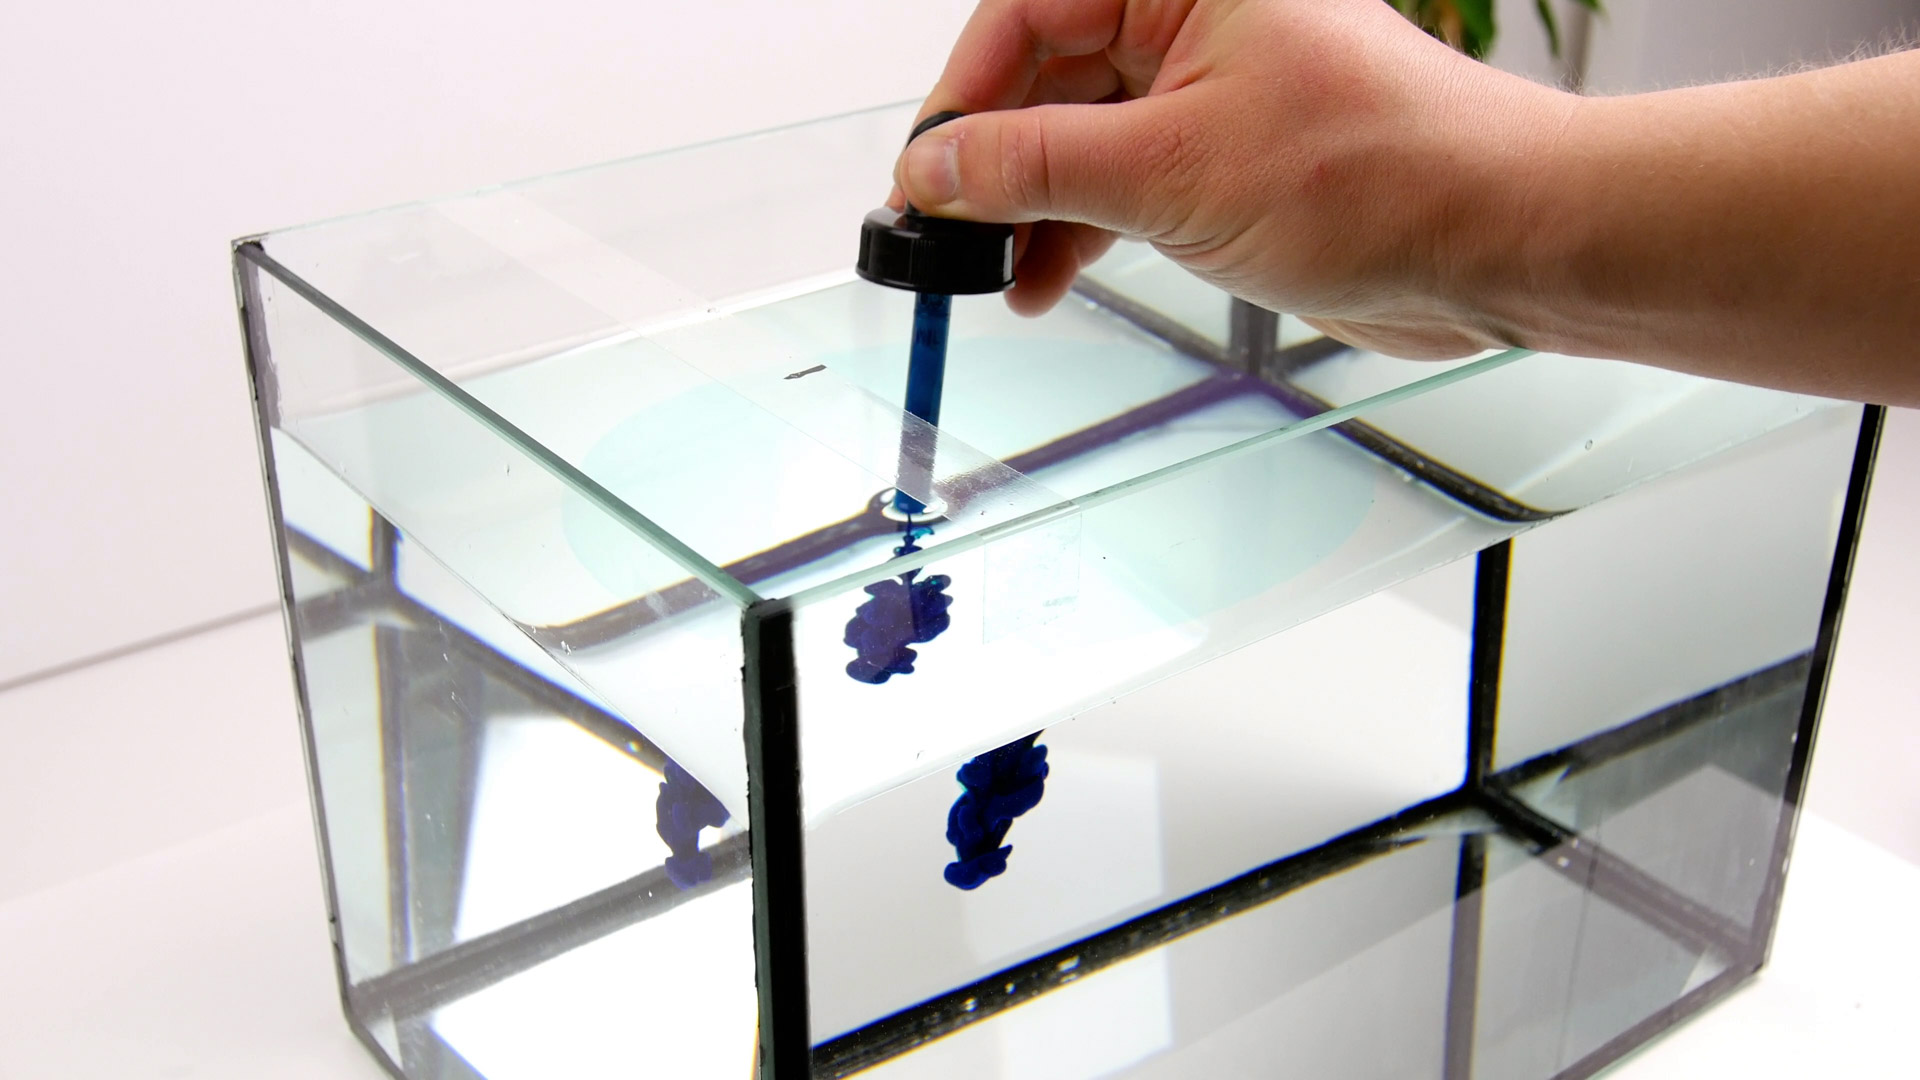
Now take a long stripe of transparent tape and place it from the front to the back panel. Now hold a straight object into the water and figure out where you want the camera to focus. Then mark the exact position on the tape.
Now it`s finally time to take your acrylic Ink and push it gently in the water and get ready for the shot.
Final Words
Thank you for reading my Post about „Ink in Water“ Photography. It was fun to create the video and the Smartphone Background-Wallpapers.
Send me some pictures, if you could successfully make some awesome images by yourself.
If you fell like giving something back, consider subscribing to my youtube Channel. Please leave me some feedback!
NOTHING IS BETTER THAN HOMEMADE!

Downloads

